Windows 11 Github git push
2025.08.27
1
2
3
4
5
6
7
8
9
10
11
ssh: connect to host github.com port 22: Connection timed outread from remote repository.'s wrong. Maybe you can find the solution here: https://hexo.io/docs/troubleshooting.html Error: Spawn failed at ChildProcess.<anonymous> (D:\DevProj\murphyhoucn_blog\node_modules\hexo-deployer-git\node_modules\hexo-util\lib\spawn.js:51:21) at ChildProcess.emit (node:events:518:28) at cp.emit (D:\DevProj\murphyhoucn_blog\node_modules\cross-spawn\lib\enoent.js:34:29) at ChildProcess._handle.onexit (node:internal/child_process:293:12)
因为Github 仓库链接本地使用的是git@ 的 SSH 方式。为git命令配置ssh的网络代理采用下面这种方式。
1
2
3
4
5
6
7
Ubuntu 22.04 WSL 用户 1 murphyitxwsl@MurphyWinITX:~$
忘记用户的密码了。。。。
1
2
3
1
2
wsl.exe --user root
Ubuntu 24.04 Proxy
Ubuntu配置 命令行Clash 教程 - 知乎 (zhihu.com)
终端使用代理加速的正确方式(Clash) | Ln’s Blog (weilining.github.io)
1
2
3
4
gunzip clash-linux-amd64-v1.18.0.gzmv clash-linux-amd64-v1.18.0 clashchmod u+x clash
1 在 ~/.config/clash/config.yaml 写入订阅的内容
1 2 3 4 5 6 7 8 9 10 11 `~/.bashrc`function proxy export http_proxy=http://127.0.0.1:7890export https_proxy=$http_proxy echo -e "proxy on!" function unproxy unset http_proxy https_proxyecho -e "proxy off"
1
2
3
4
5
(base) houjinliang@3080server:~/userdoc$ source ~/.bashrc
1
2
3
4
5
6
7
8
9
10
11
12
13
14
15
16
17
18
19
20
21
22
23
24
25
26
27
28
29
(base) houjinliang@3080server:~/userdoc$ wget www.zhihu.com
Ubuntuer Server user
这部分内容是在服务器上完成的,涉及到权限问题。
增减用户 1 2 3 4 5 6 7 8 9 10 11 12 13 14 15 16 17 18 19 20 21 22 23 sudo useradd -d "/mnt/songwenming" -m -s "/bin/bash" songwenmingsudo passwd songwenmingcat /etc/passwdcat /etc/groupsudo userdel -r songwenmingsudo ] user 的密码:
用户权限 1 2 3 4 5 6 7 8 9 > ssh with houjinliangchmod 750 /mnt/houjinliang
用于与用户组 1 2 3 4 5 6 7 8 9 10 11 cat /etc/passwd or getent passwdcat /etc/group or getent groupgroups houjinliang
sudo-特殊的组 1 2 3 4 5 6 7 8 9 10 11 12 13 14 15 16 17 18 19 20 21 22 23 24 25 26 27 28 29 30 31 32 33 34 35 36 37 38 39 40 41 42 43 sudo grep -rE '^%[a-zA-Z_]+' /etc/sudoers /etc/sudoers.d/sudo ALL=(ALL:ALL) ALLsudo sudo :x:27:usersudo grep -rvE '^#|^$' /etc/sudoers /etc/sudoers.d/ | sed 's/#.*//' "/usr/local/sbin:/usr/local/bin:/usr/sbin:/usr/bin:/sbin:/bin:/snap/bin" sudo ALL=(ALL:ALL) ALLsudo -l -U user$s 上 %1$s 的默认条目:sudo -l -U houjinliang$s 上 %1$s 的默认条目:sudo sudo :x:27:user
用户 (User)
权限级别 (Permission Level)
获得方式 (Method of Grant)
root超级用户 (Superuser)
系统内置 (System Built-in)
houjinliang完整 sudo 权限 (Full sudo Access)
直接在 sudoers 文件中指定 (Directly Named in sudoers)
user完整 sudo 权限 (Full sudo Access)
sudo 组成员 (Member of sudo Group)
把用户加入用户组 1 2 3 4 5 6 7 8 9 10 11 12 13 14 15 16 17 18 19 20 21 22 23 sudo usermod -aG sudo houjinliangsudo sudo :x:27:user,houjinliangsudo -l -U houjinliang$s 上 %1$s 的默认条目:sudo vim /etc/sudoers sudo -l -U houjinliang$s 上 %1$s 的默认条目:groups houjinliangsudo
用户 (User)
权限级别 (Permission Level)
获得方式 (Method of Grant)
root超级用户 (Superuser)
系统内置 (System Built-in)
houjinliang完整 sudo 权限 (Full sudo Access)
sudo 组成员 (Member of sudo Group)
user完整 sudo 权限 (Full sudo Access)
sudo 组成员 (Member of sudo Group)
user是在sudo组的用户,能看到普通用户的文件吗?
user 不是文件的所有者。user不属于 该文件的用户组,那么他就会被归类为“其他人”,权限是 0,因此他不能 读取文件。
1 2 3 4 5 6 7 8 9 10 11 12 13 14 15 16 17 18 19 20 cd /mnt/songwenming/cd ..cd songwenming/cat try.py
user是在sudo用户组,能看chmod 750的用户的文件内容吗?
1 2 3 4 5 6 7 cd /mnt/houjinliang/cd : /mnt/houjinliang/: 权限不够cat /mnt/houjinliang/MyDevProject/NPUDevCode/GitAuto.shcat : /mnt/houjinliang/MyDevProject/NPUDevCode/GitAuto.sh: 权限不够
1 2 3 4 5 6 7 8 9 10 11 user@3080server:~$ sudo cd /mnt/houjinliang/sudo ] user 的密码:sudo : cd :找不到命令sudo cat /mnt/houjinliang/MyDevProject/NPUDevCode/GitAuto.sh
引申出一个内容, sudo: cd:找不到命令
这是问题的核心。你可能会非常困惑:“cd 明明是一个命令,为什么 sudo 会说找不到它?”
原因是:Linux 的命令分为两种类型
外部命令 (External Command):
这些是存在于磁盘上的独立程序文件,比如 /bin/ls, /bin/cat, /usr/bin/grep。
当你执行 ls 时,你的 Shell 会在 PATH 环境变量指定的路径中去查找一个叫做 ls 的可执行文件,然后运行它。
sudo 正是设计用来运行这些外部命令 的。它会在一个安全的路径(secure_path)里去寻找这些程序。
Shell 内建命令 (Shell Built-in Command):
这些命令是 Shell 程序(比如你用的 bash)自身的一部分,它们不是磁盘上的独立文件 。
cd 就是一个最典型的内建命令。此外还有 pwd, echo, export, alias, exit 等。sudo 无法找到 cd 命令,因为它不是一个独立的文件,所以 sudo 在所有程序路径里都找不到它,最终只能报告“找不到命令”。
为什么 cd 必须是内建命令?
想象一下,如果 cd 是一个外部程序。当你运行 cd /some/dir 时,系统会启动一个新的进程 来运行 cd 这个程序。这个新进程会成功地把它自己 的工作目录切换到 /some/dir,然后……它就退出了。你原来的那个 Shell 进程的工作目录完全没有受到任何影响 。
所以,为了能够改变当前 Shell 自身的环境(比如当前所在目录),cd 必须是 Shell “内置”的功能,直接在当前进程内执行。
终极方法,切换到root !!!终极无敌权限,不管任何chmod!!!
1 2 3 4 5 6 7 8 9 10 11 12 13 14 15 16 17 18 exit " sudo -s 或 sudo su user@3080server:~$ sudo -s root@3080server:/home/user# exit user@3080server:~$ sudo su root@3080server:/home/user# exit # 方法二:切换到一个完整的 root 登录环境 # 这不仅会切换到 root 用户,还会加载 root 用户的完整环境变量,并把当前目录切换到 /root。这被认为是更规范、更安全的做法。 > Ctrl + D, 注销root用户,显示的的" 注销" user@3080server:~$ sudo -i root@3080server:~# 注销 user@3080server:~$ sudo su - root@3080server:~# 注销 user@3080server:~$
Win + L锁屏后不熄屏
2025.08.27https://www.zhihu.com/question/276118015
短按win+l 会锁屏,然后关显示器; 按win+l 持续几秒钟,就会采用你设置的关屏时间,设置成never就永远亮着了。
用户
2025.08.27
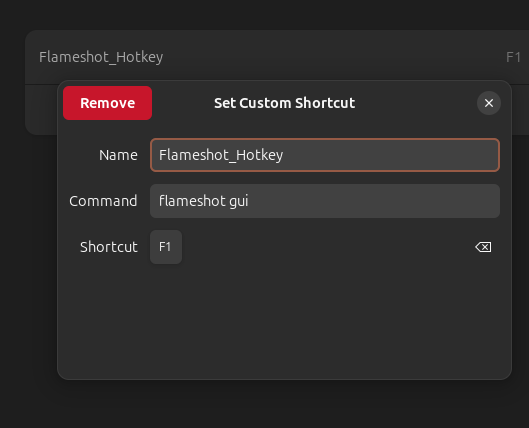
Flameshot
2025.08.27https://github.com/flameshot-org/flameshot/issues/3712#issuecomment-2334966021
1 sh -c "QT_QPA_PLATFORM=wayland flameshot gui"
Ubuntu24和Win11双系统,Windows时间不正确
2025.08.27https://blog.csdn.net/marswill/article/details/141875682
1 2 3 4 sudo apt install ntpdatesudo apt install util-linux-extra sudo ntpdate time.windows.com sudo hwclock --localtime --systohc
Grub 主题
2025.08.27https://zhuanlan.zhihu.com/p/558980080
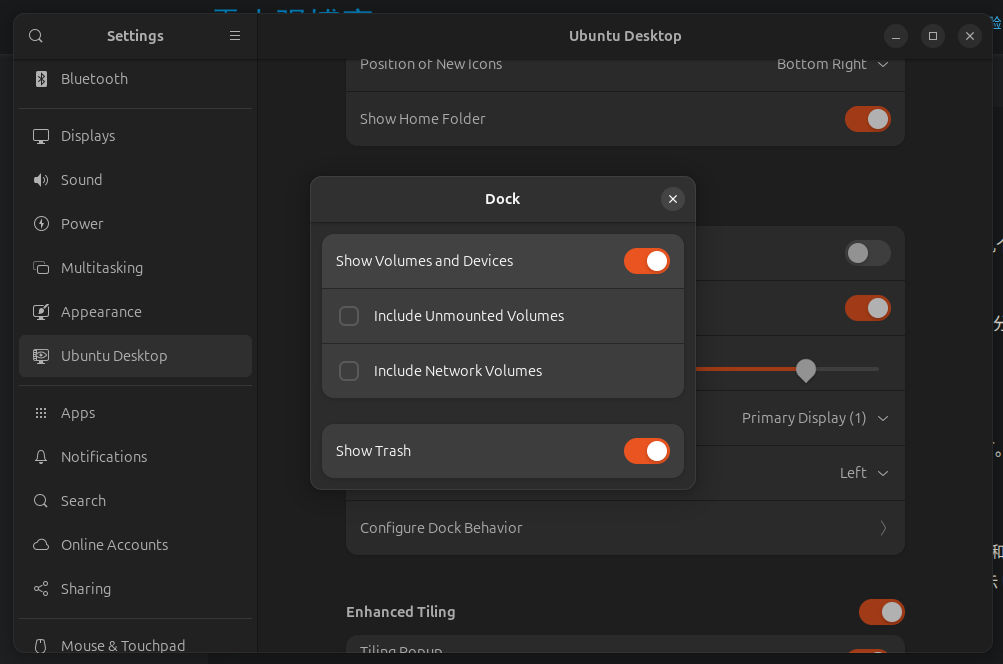
Ubuntu 24.04隐藏Dock状态栏的Windows未挂载分区图标
2025.08.27https://www.huoxiaoqiang.com/experience/linux/16045.html
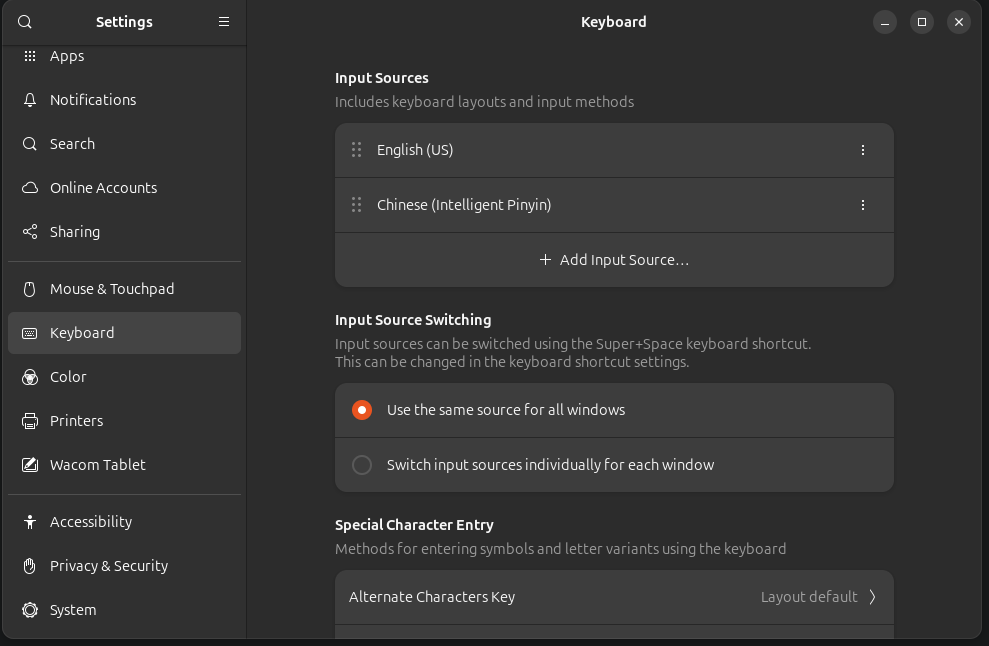
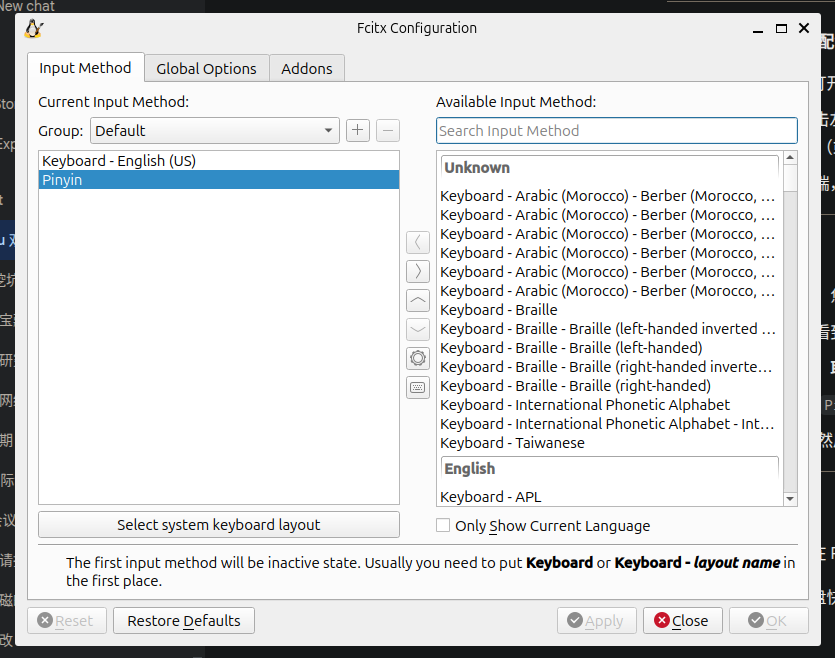
中文输入法
2025.08.27
1 2 3 4 5 6 7 8 9 10 11 12 13 14 15 安装 Fcitx5 和相关模块sudo apt updatesudo apt install fcitx5 fcitx5-chinese-addons fcitx5-pinyin
Proxy
2025.08.27https://github.com/clash-verge-rev/clash-verge-rev https://clashverge.net/
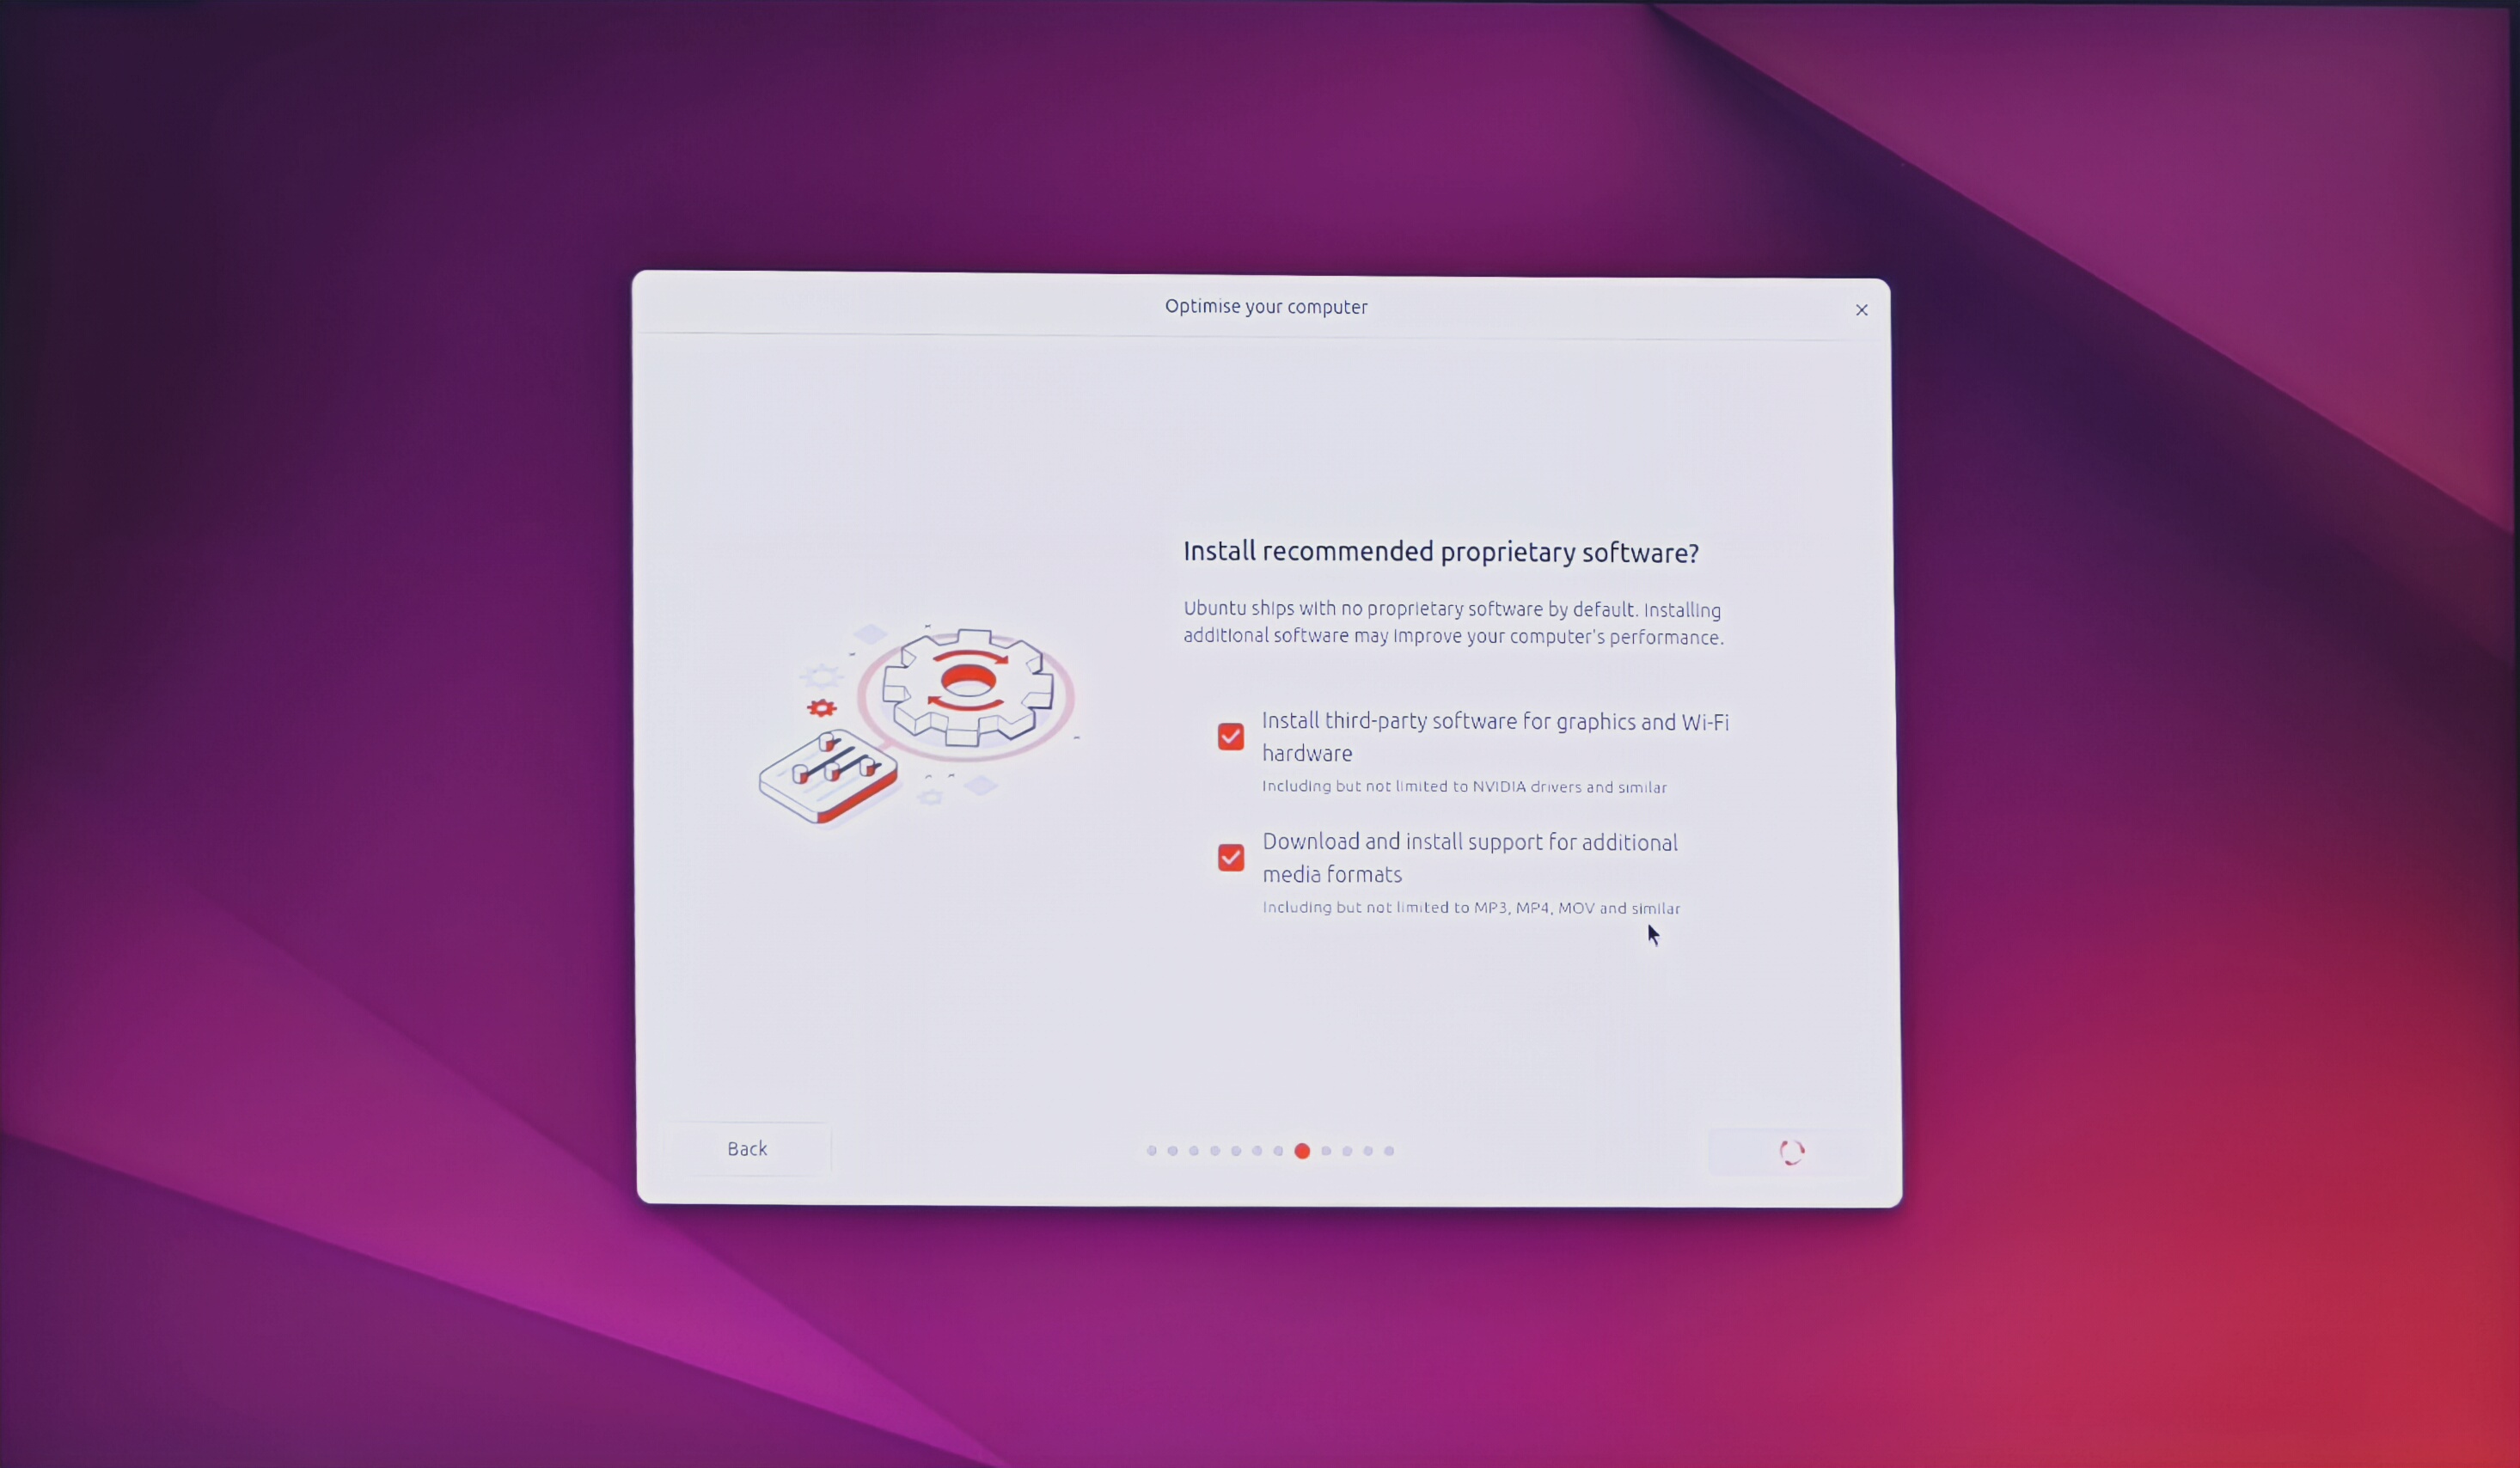
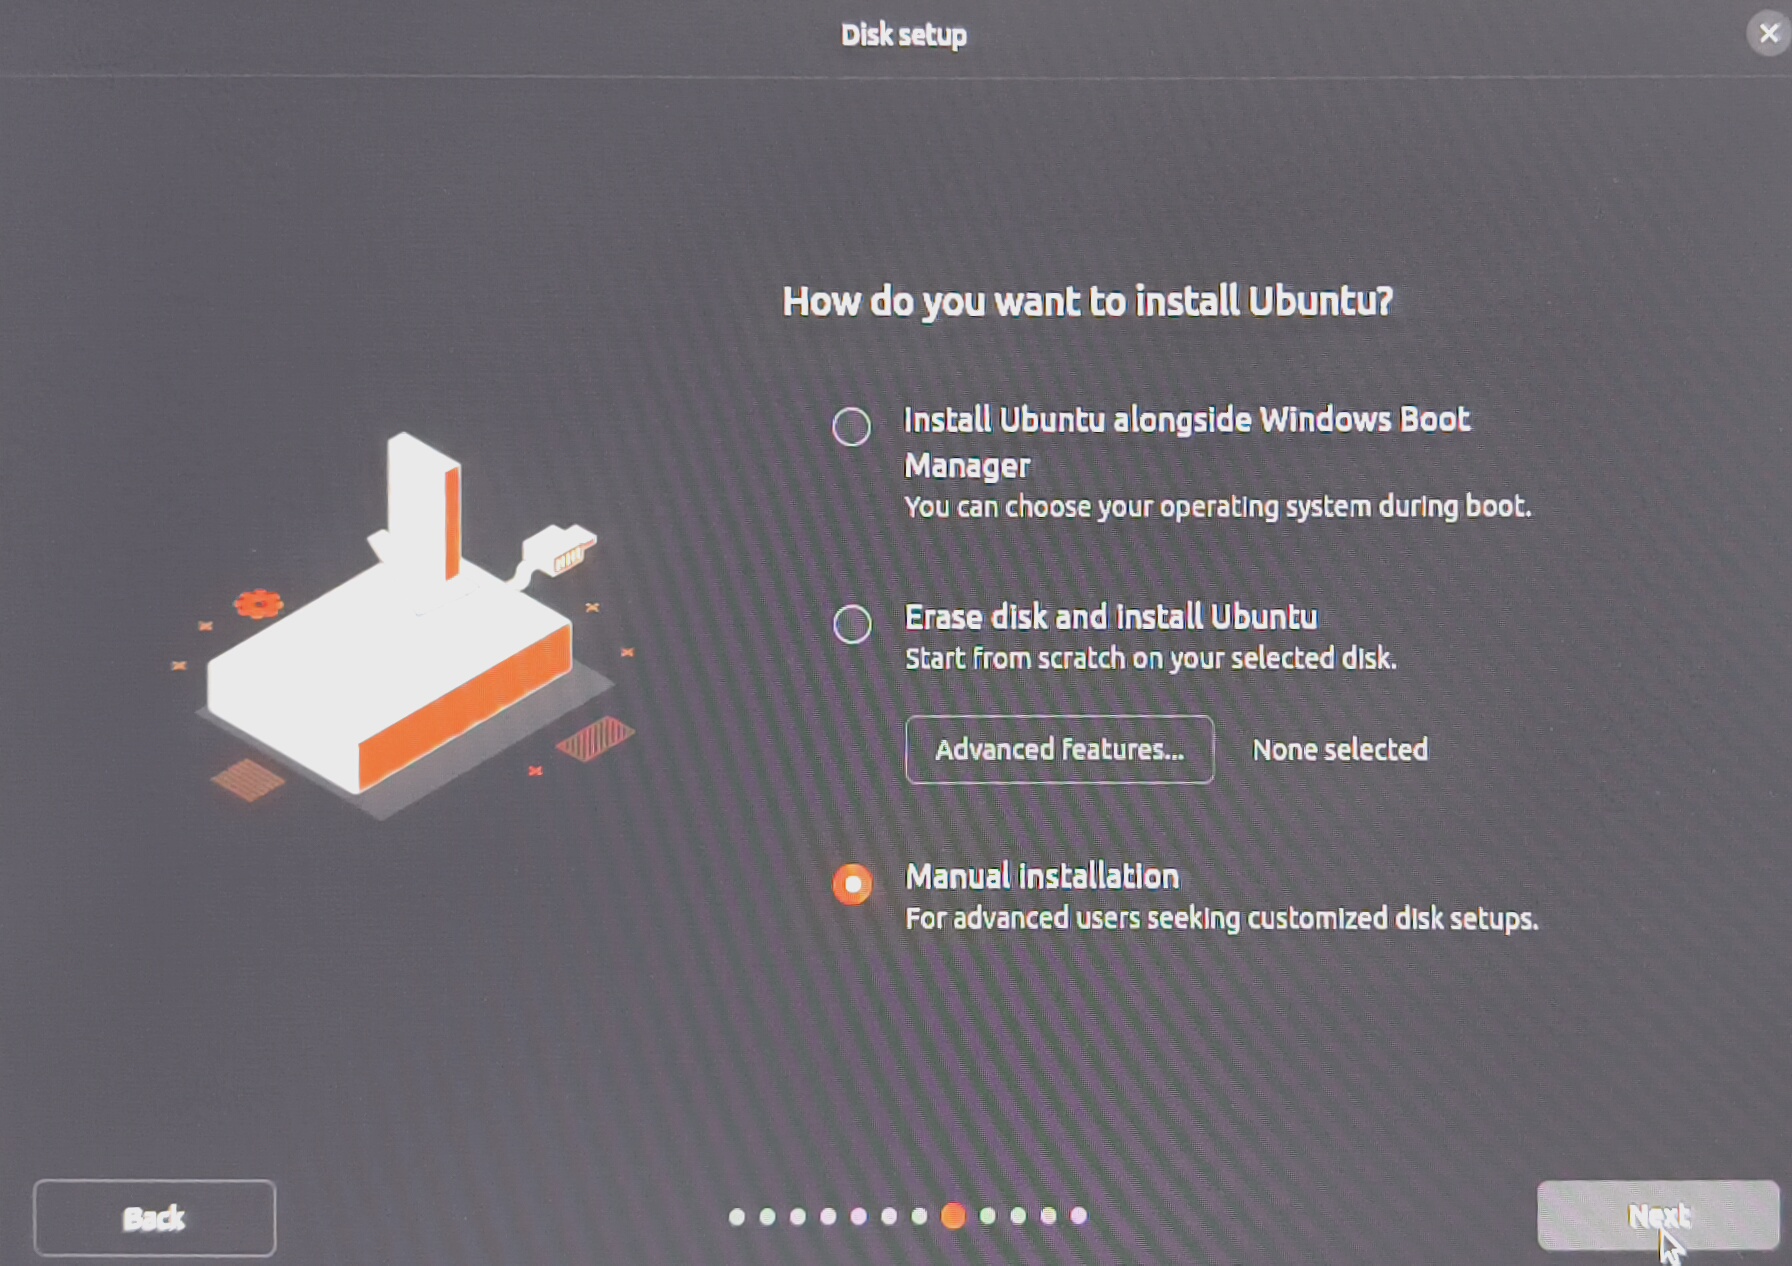
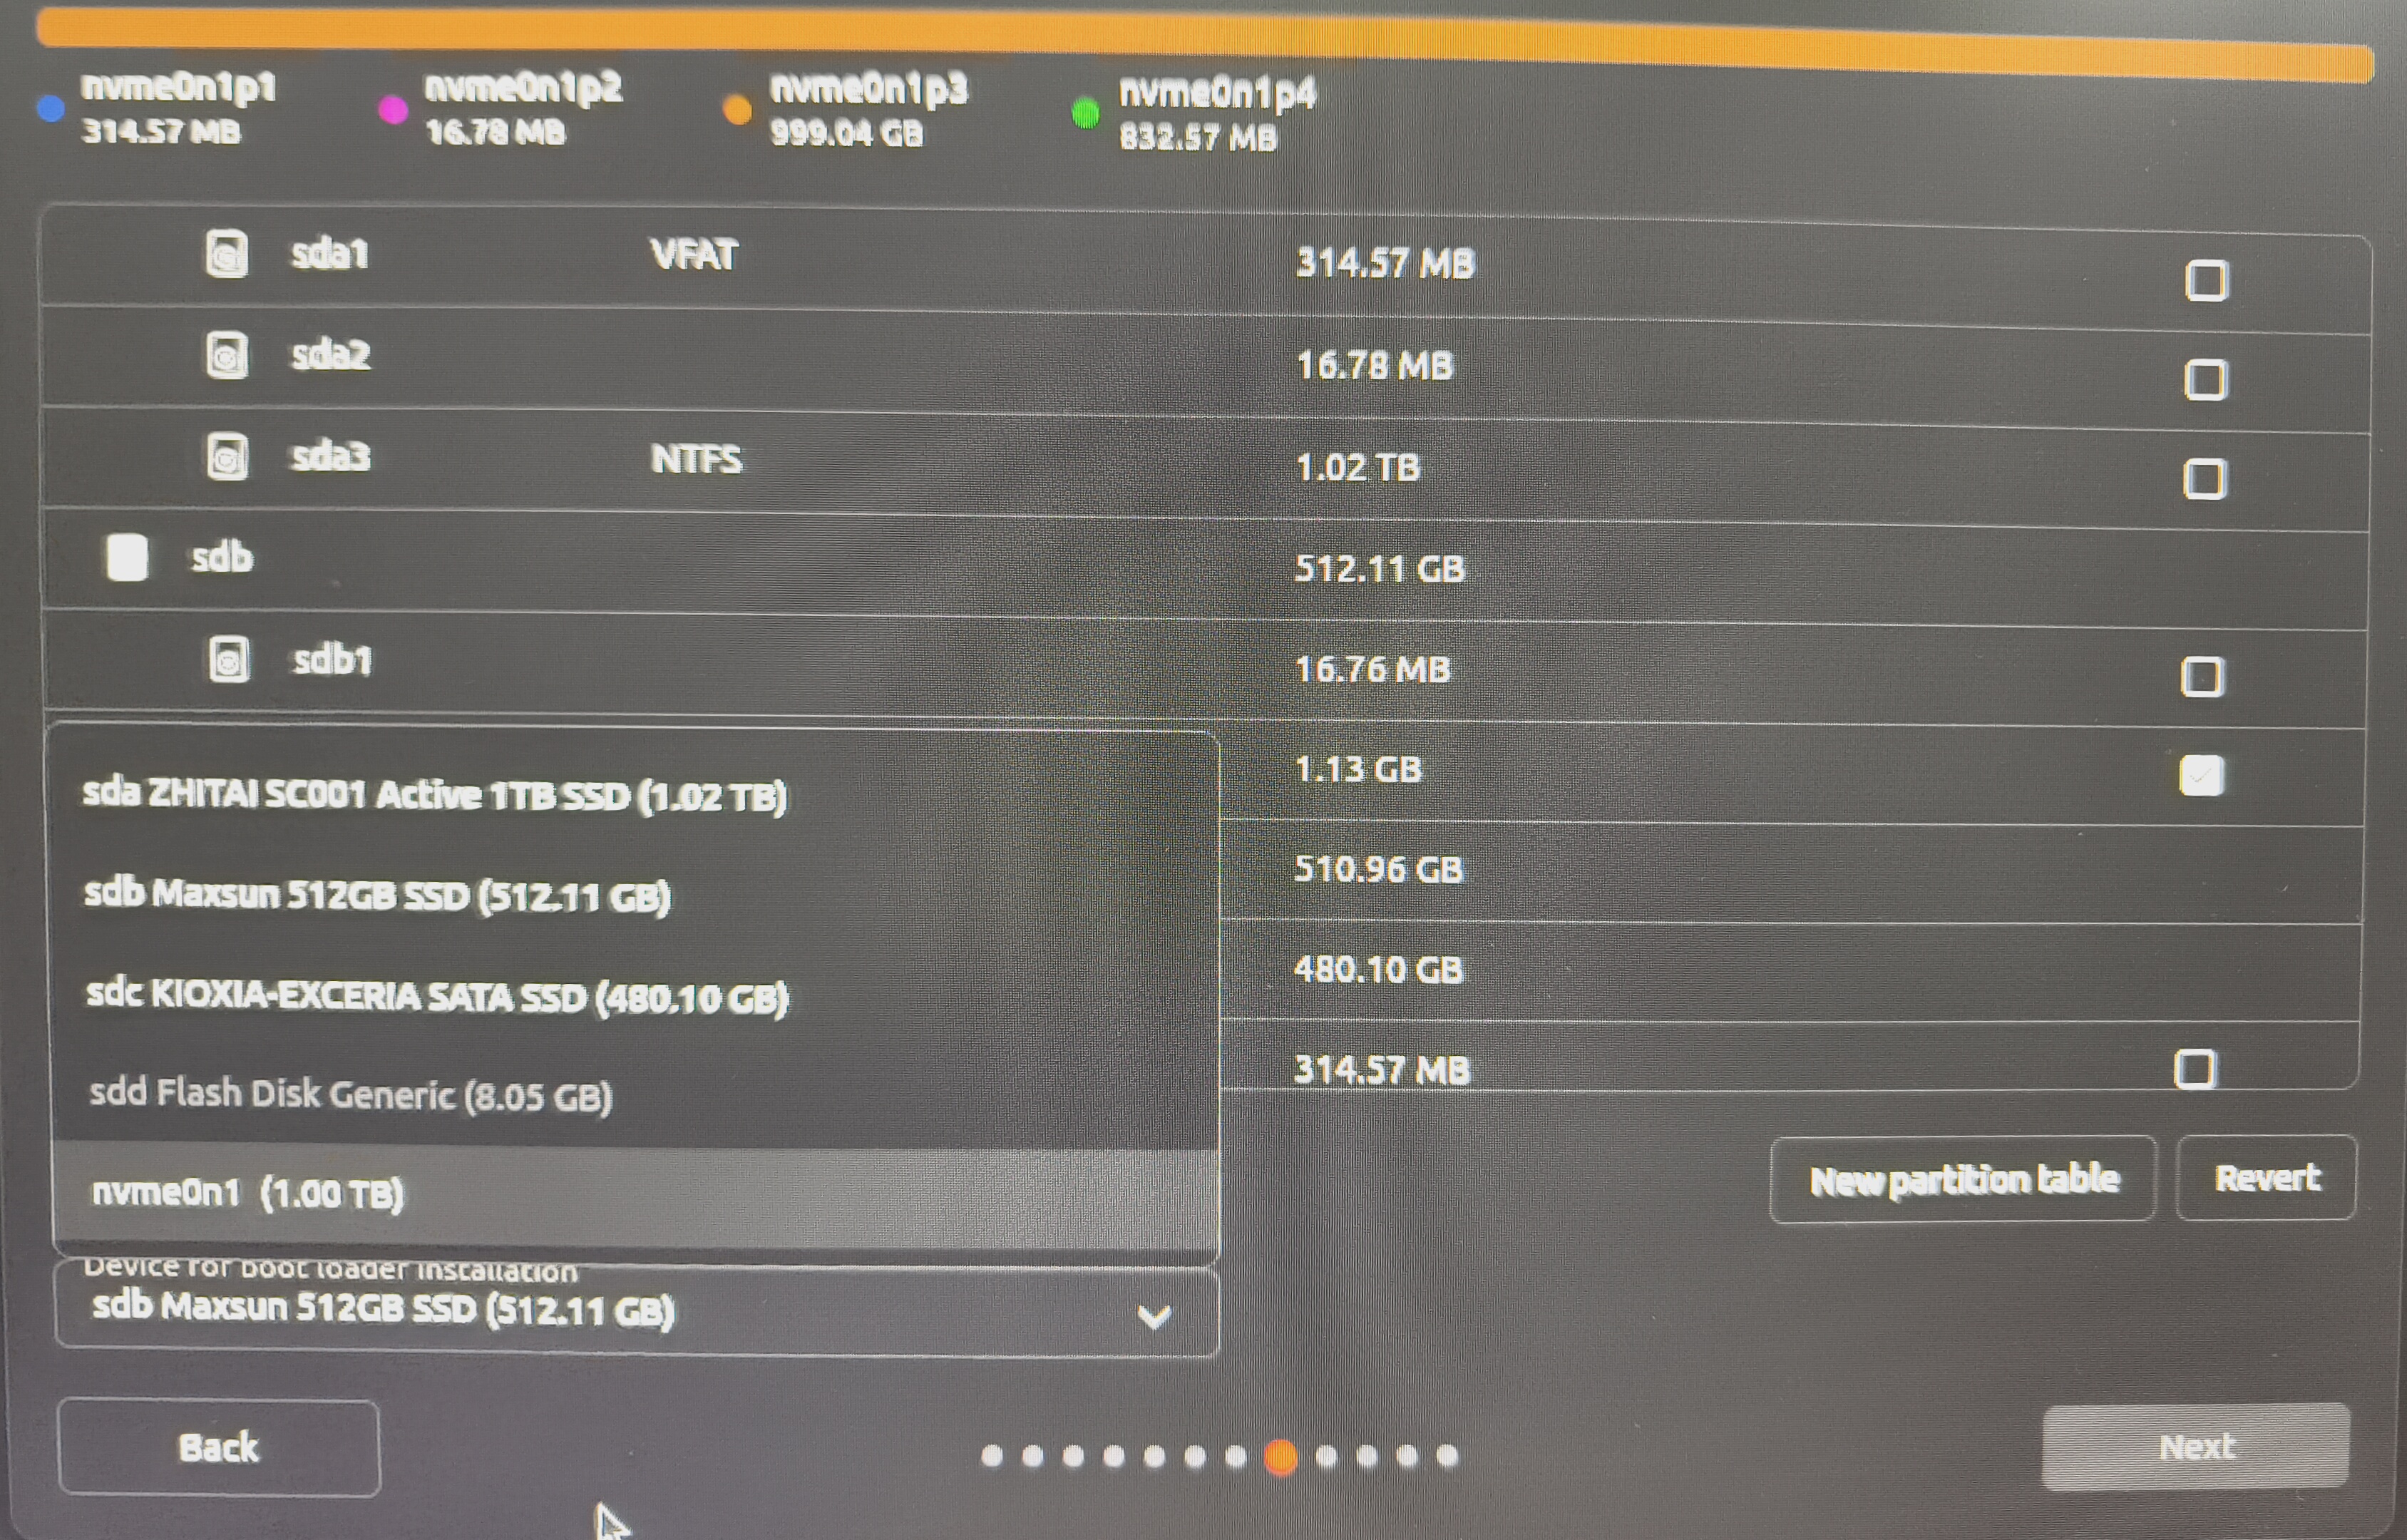
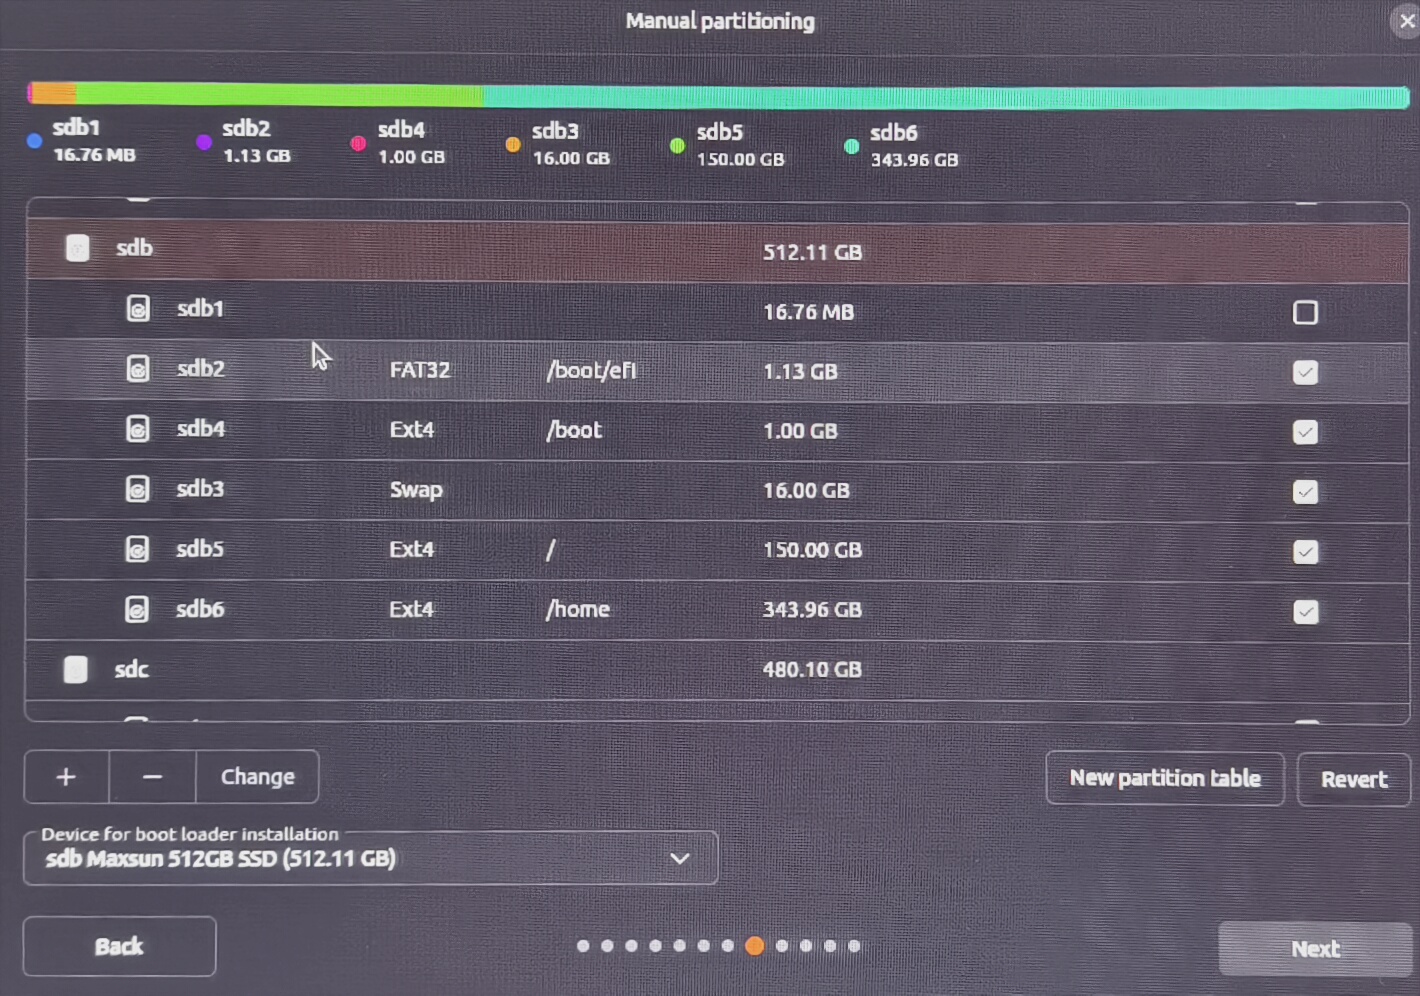
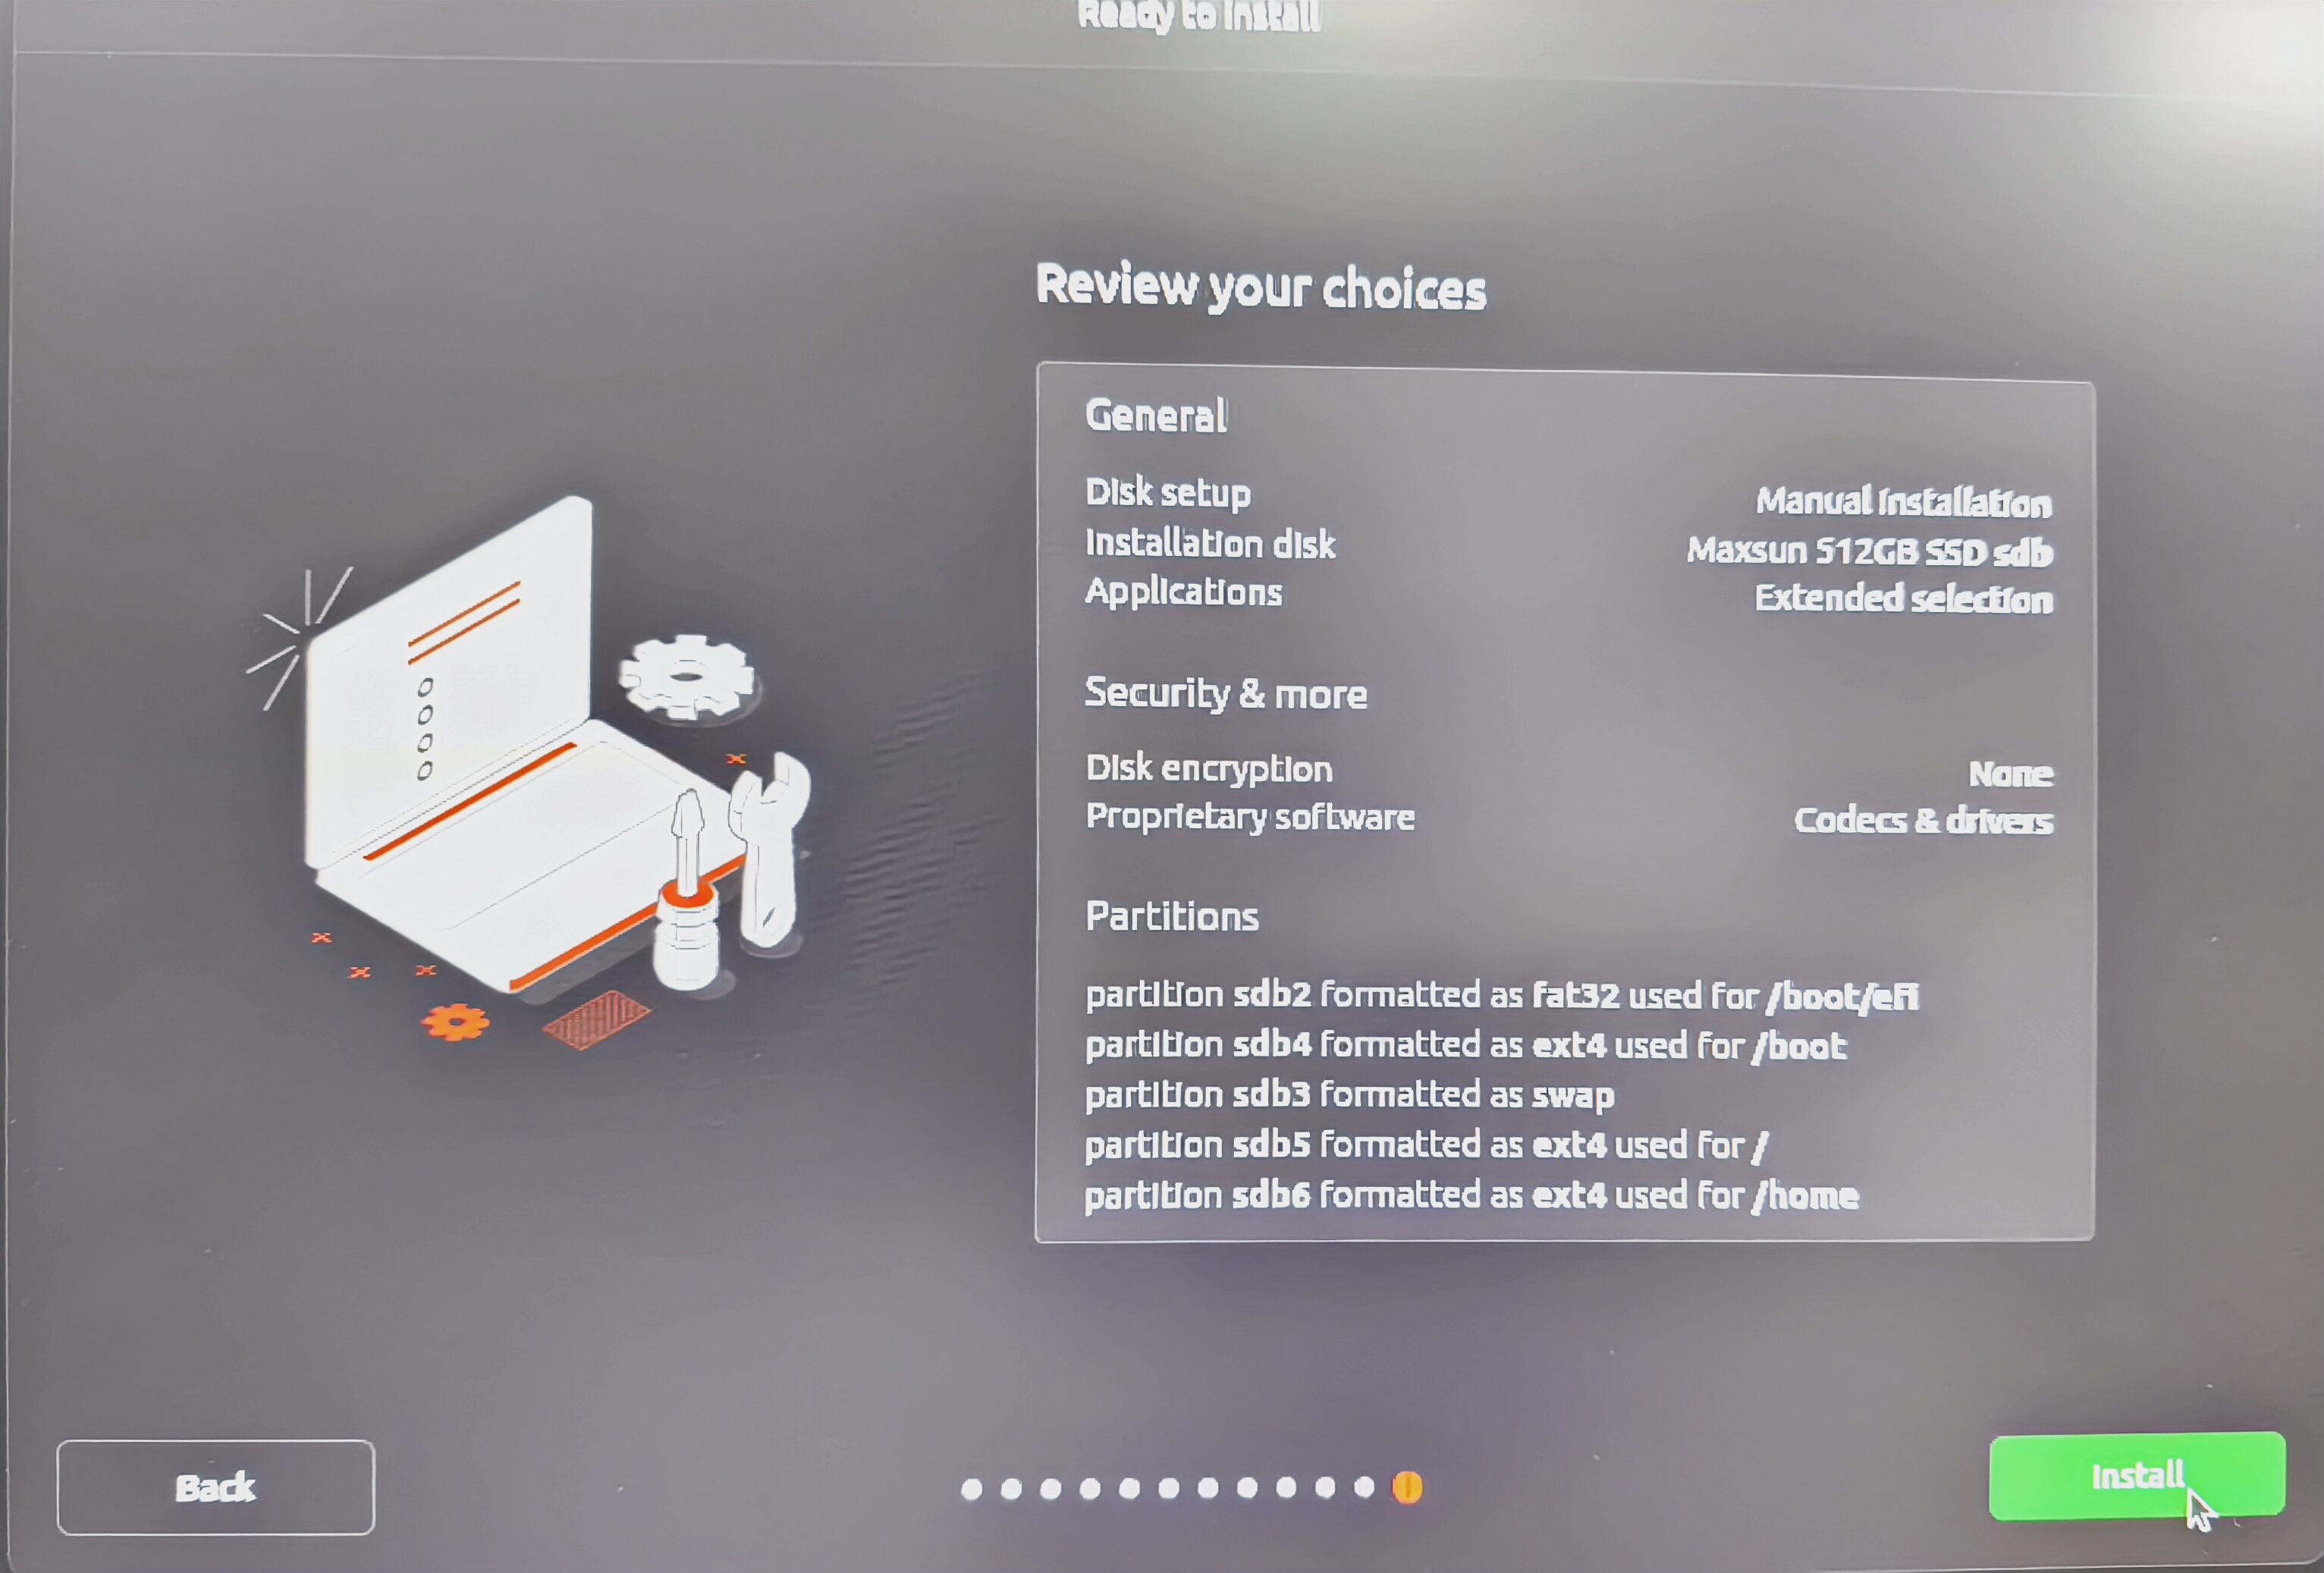
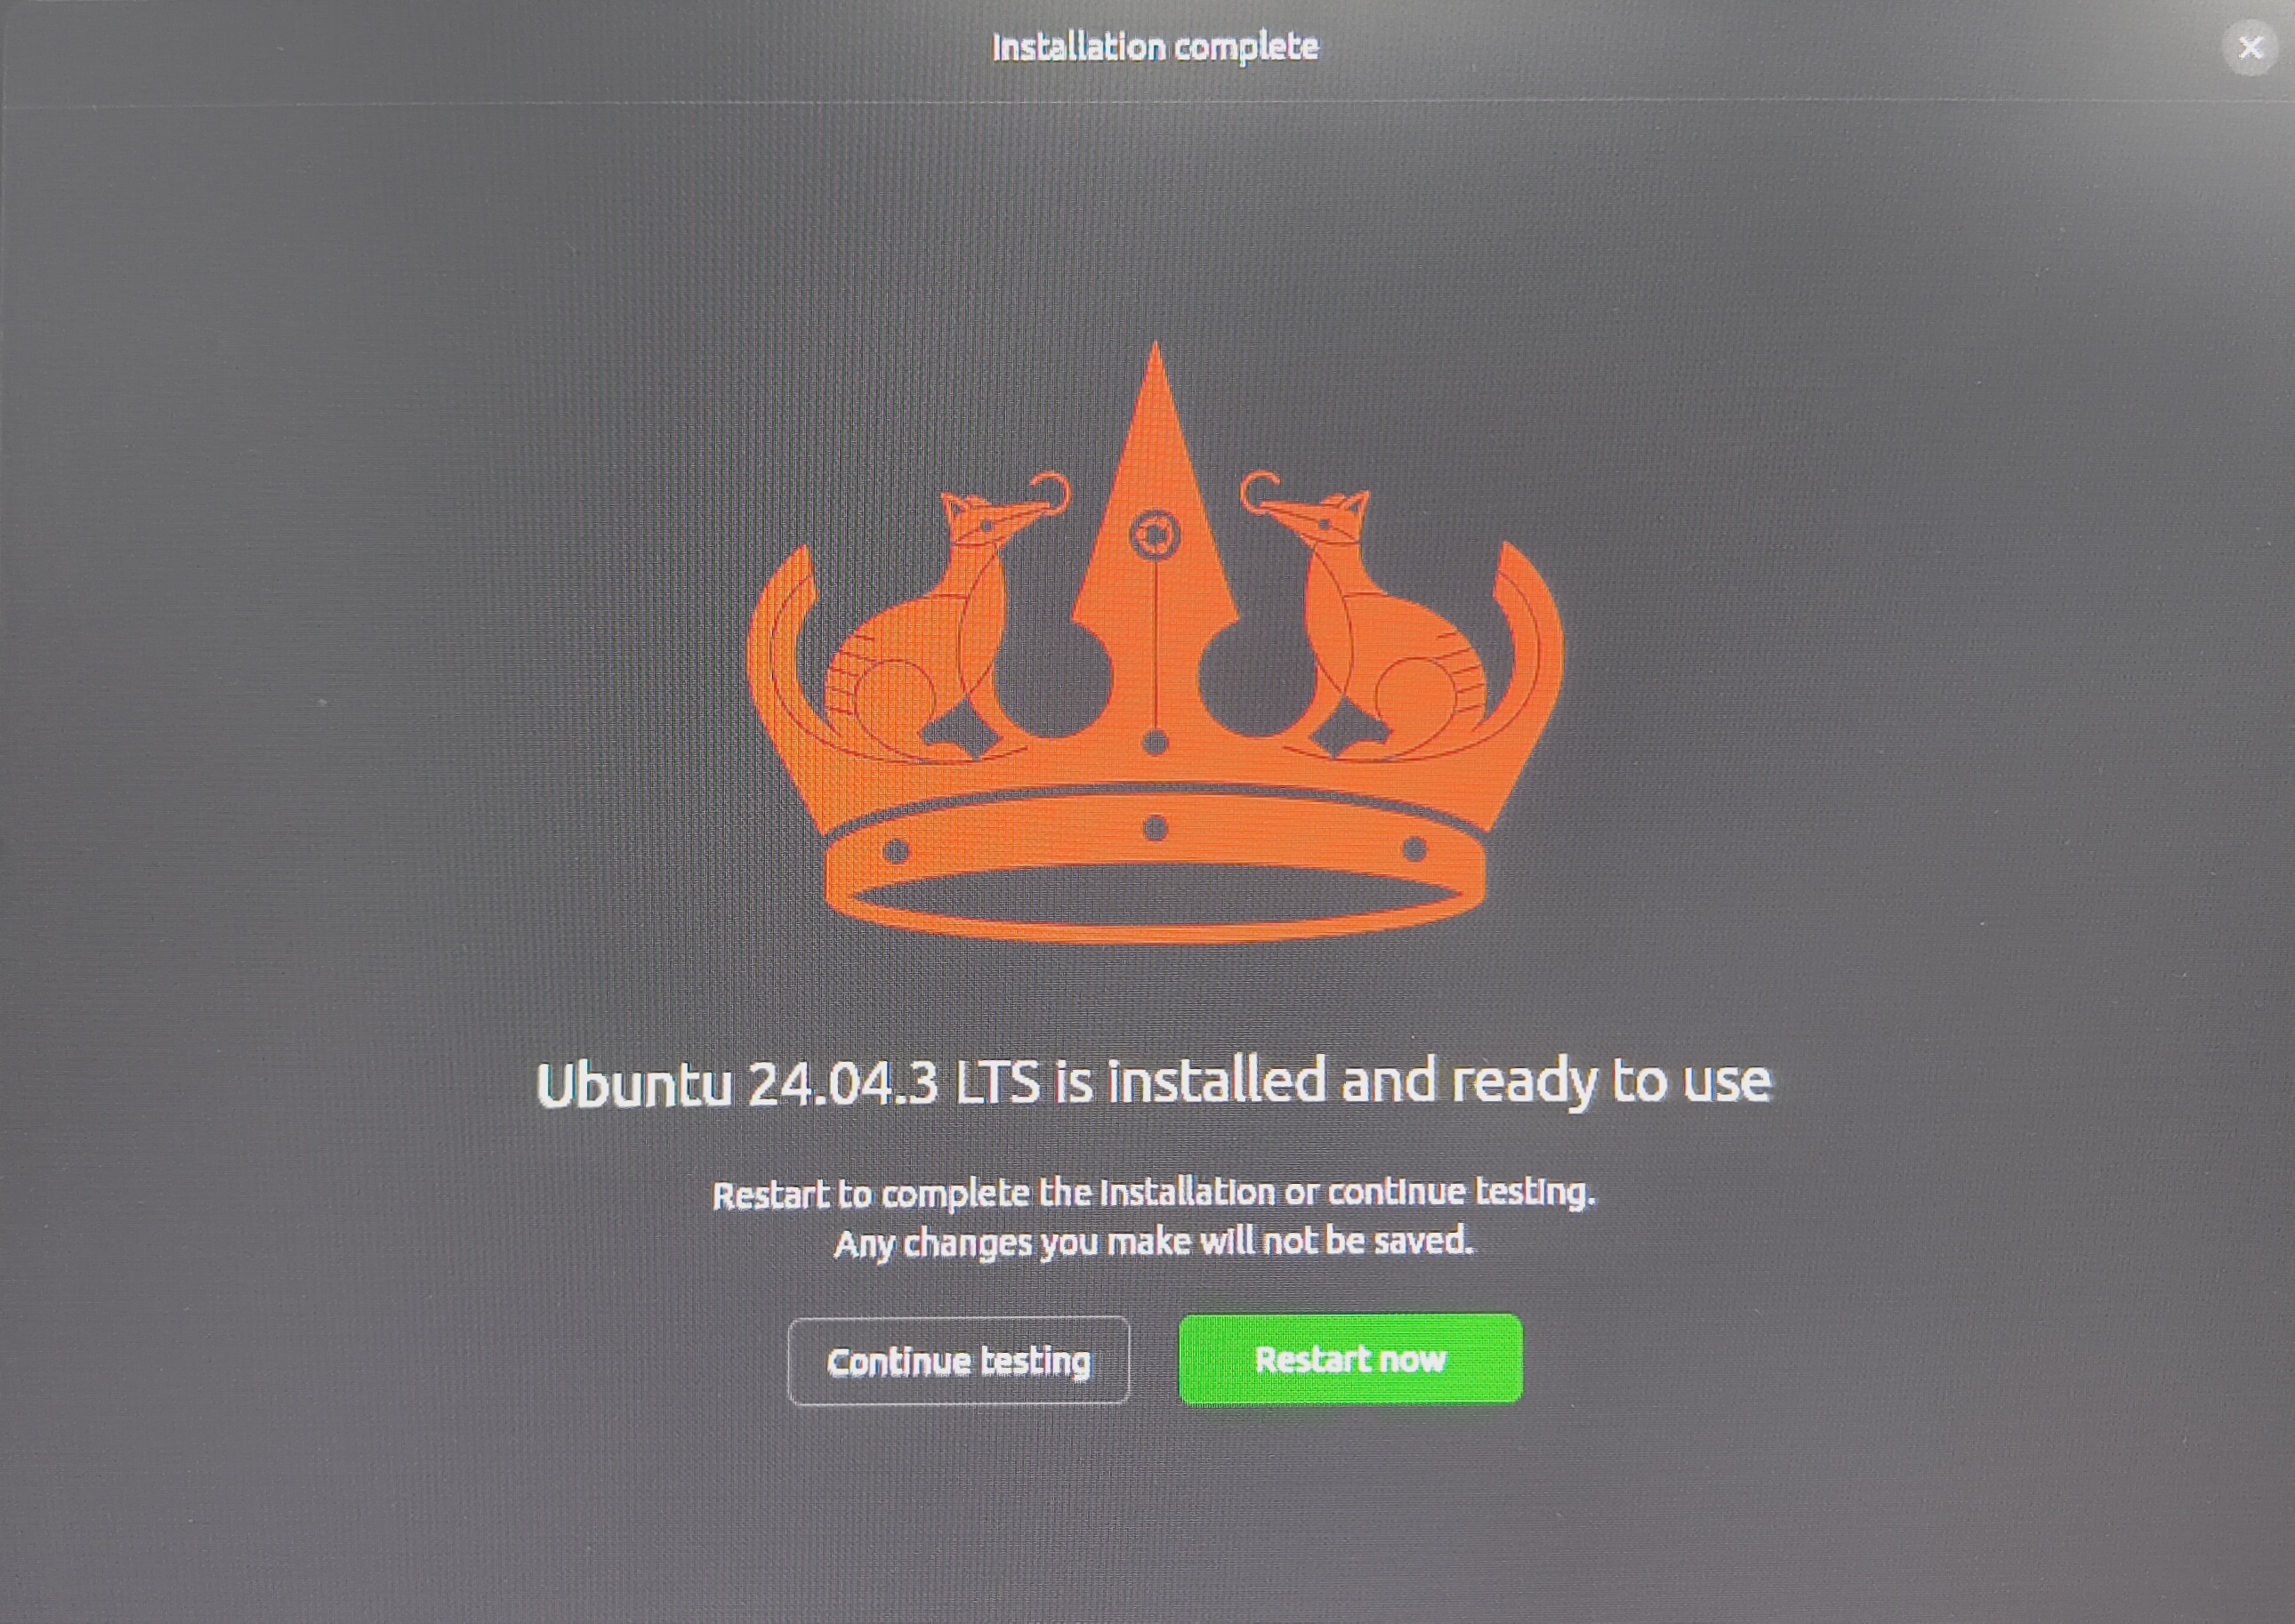
双系统
2025.08.27
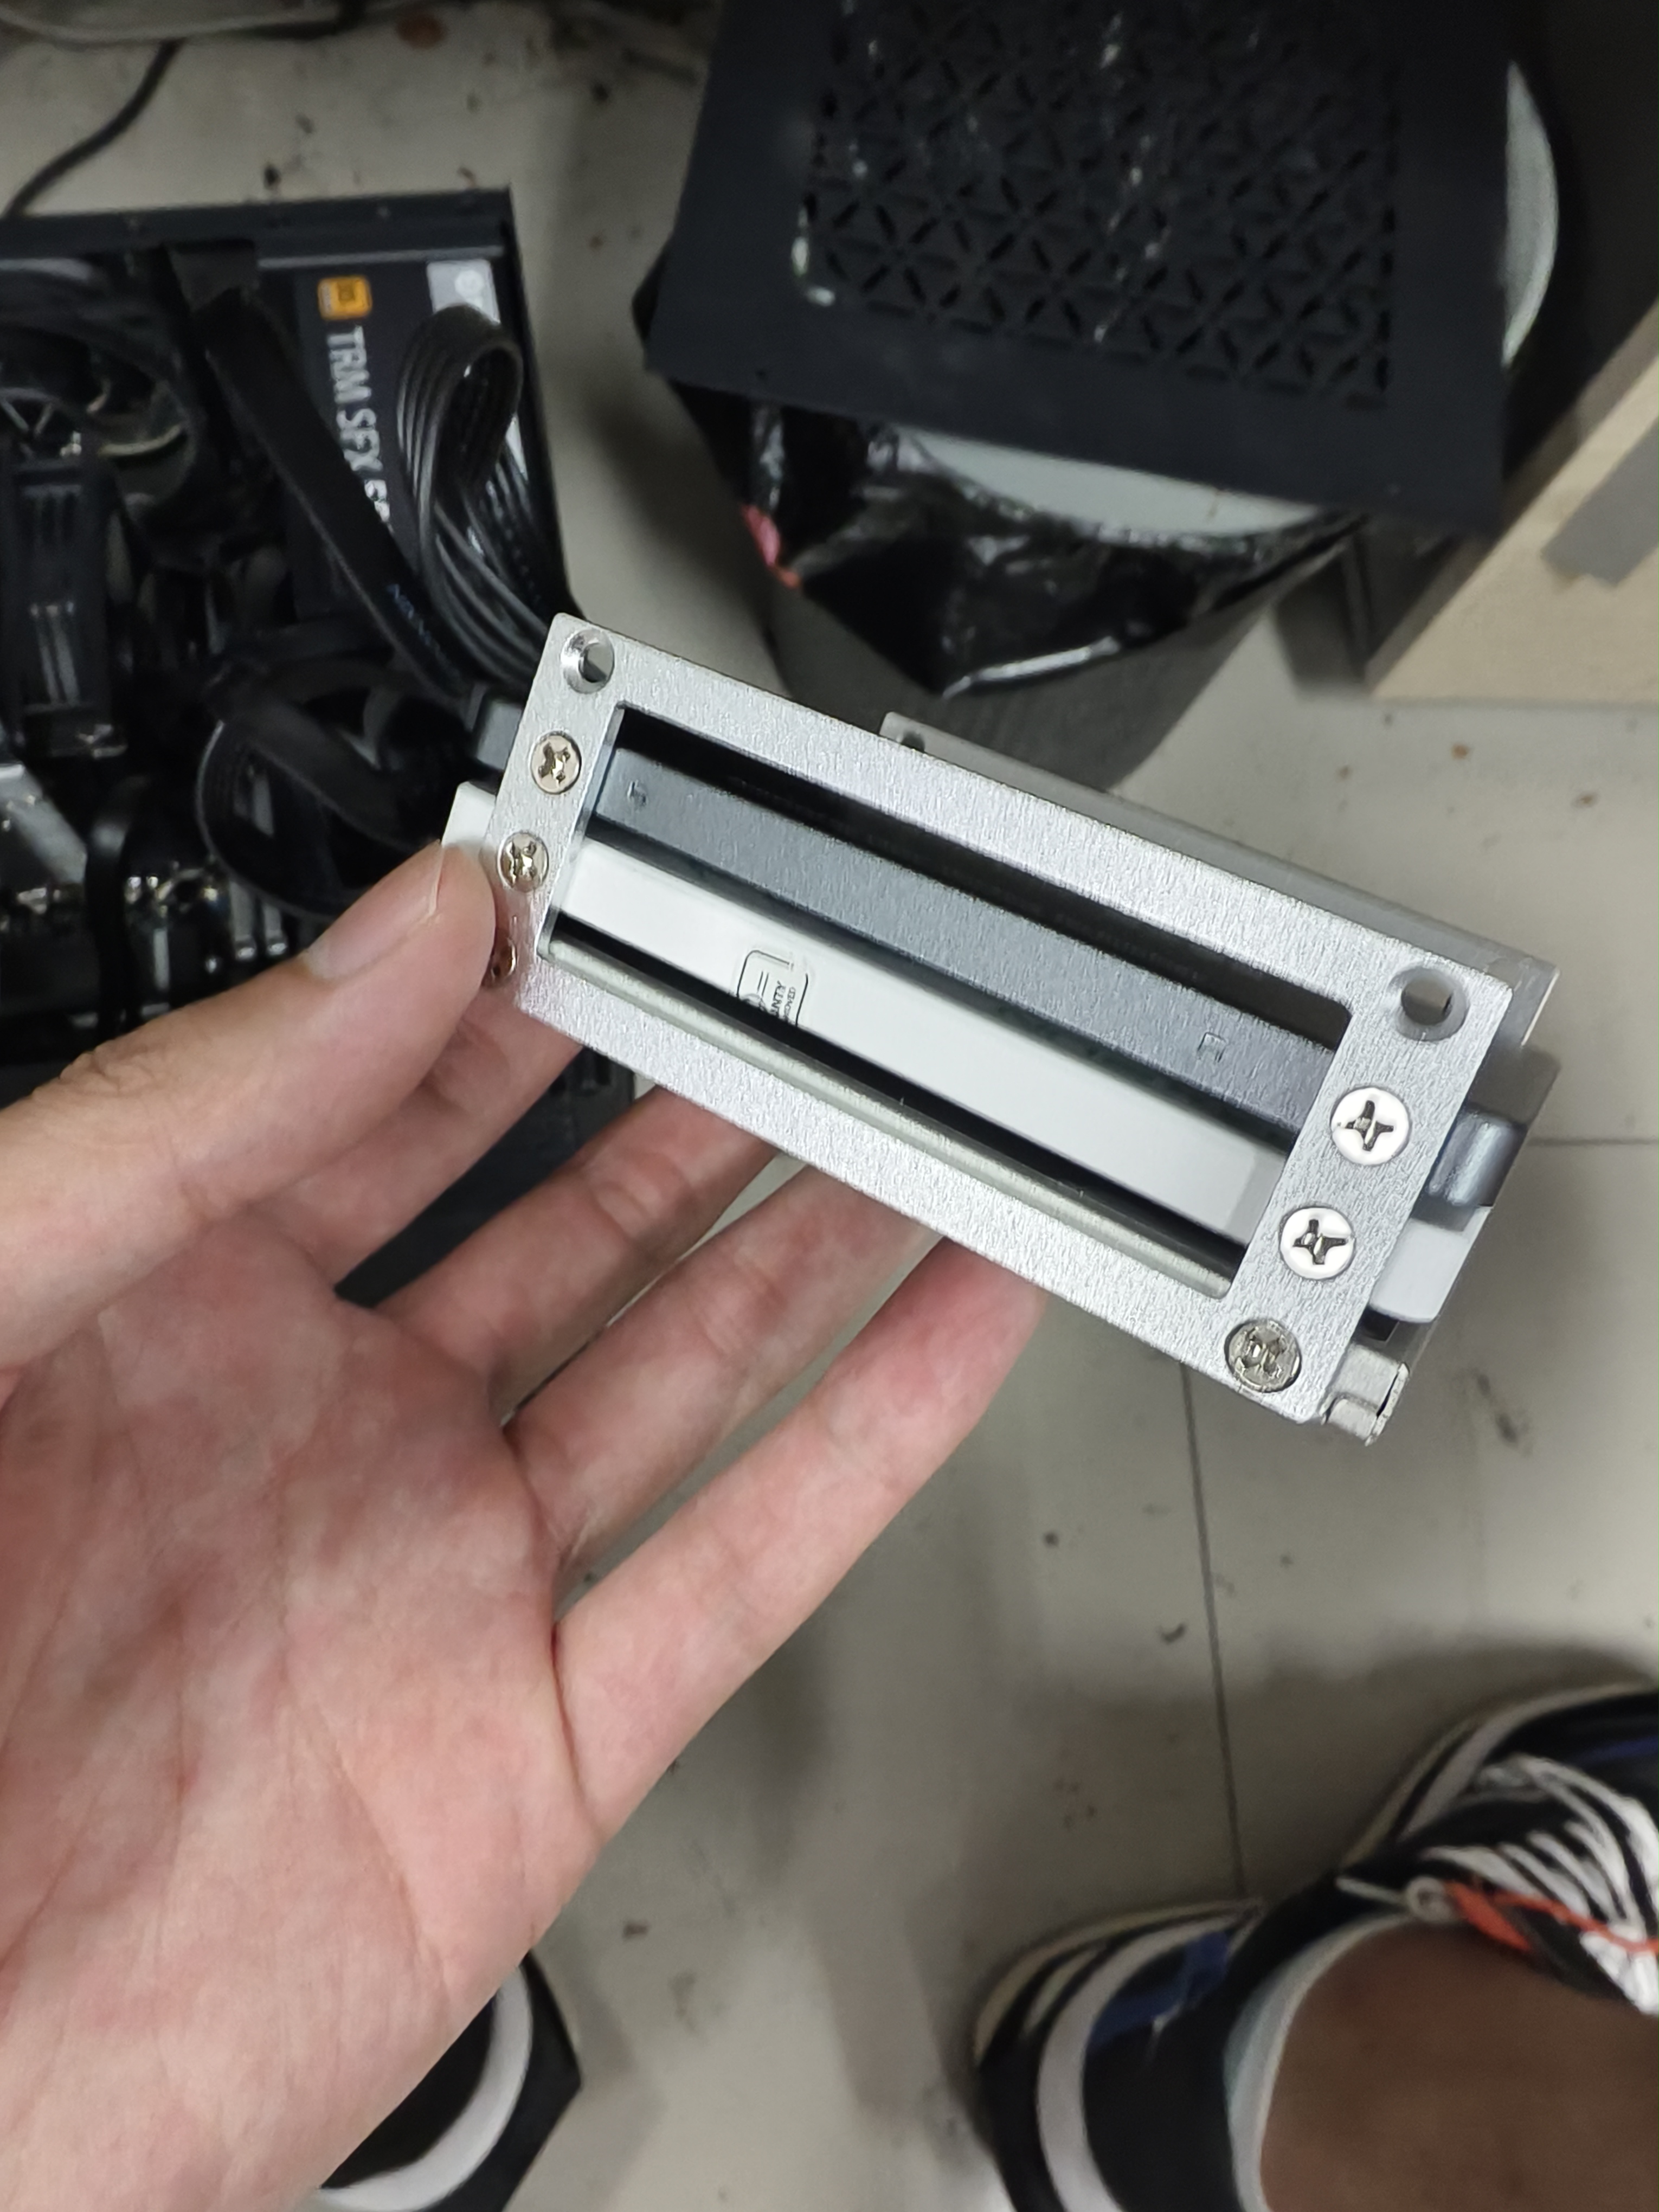
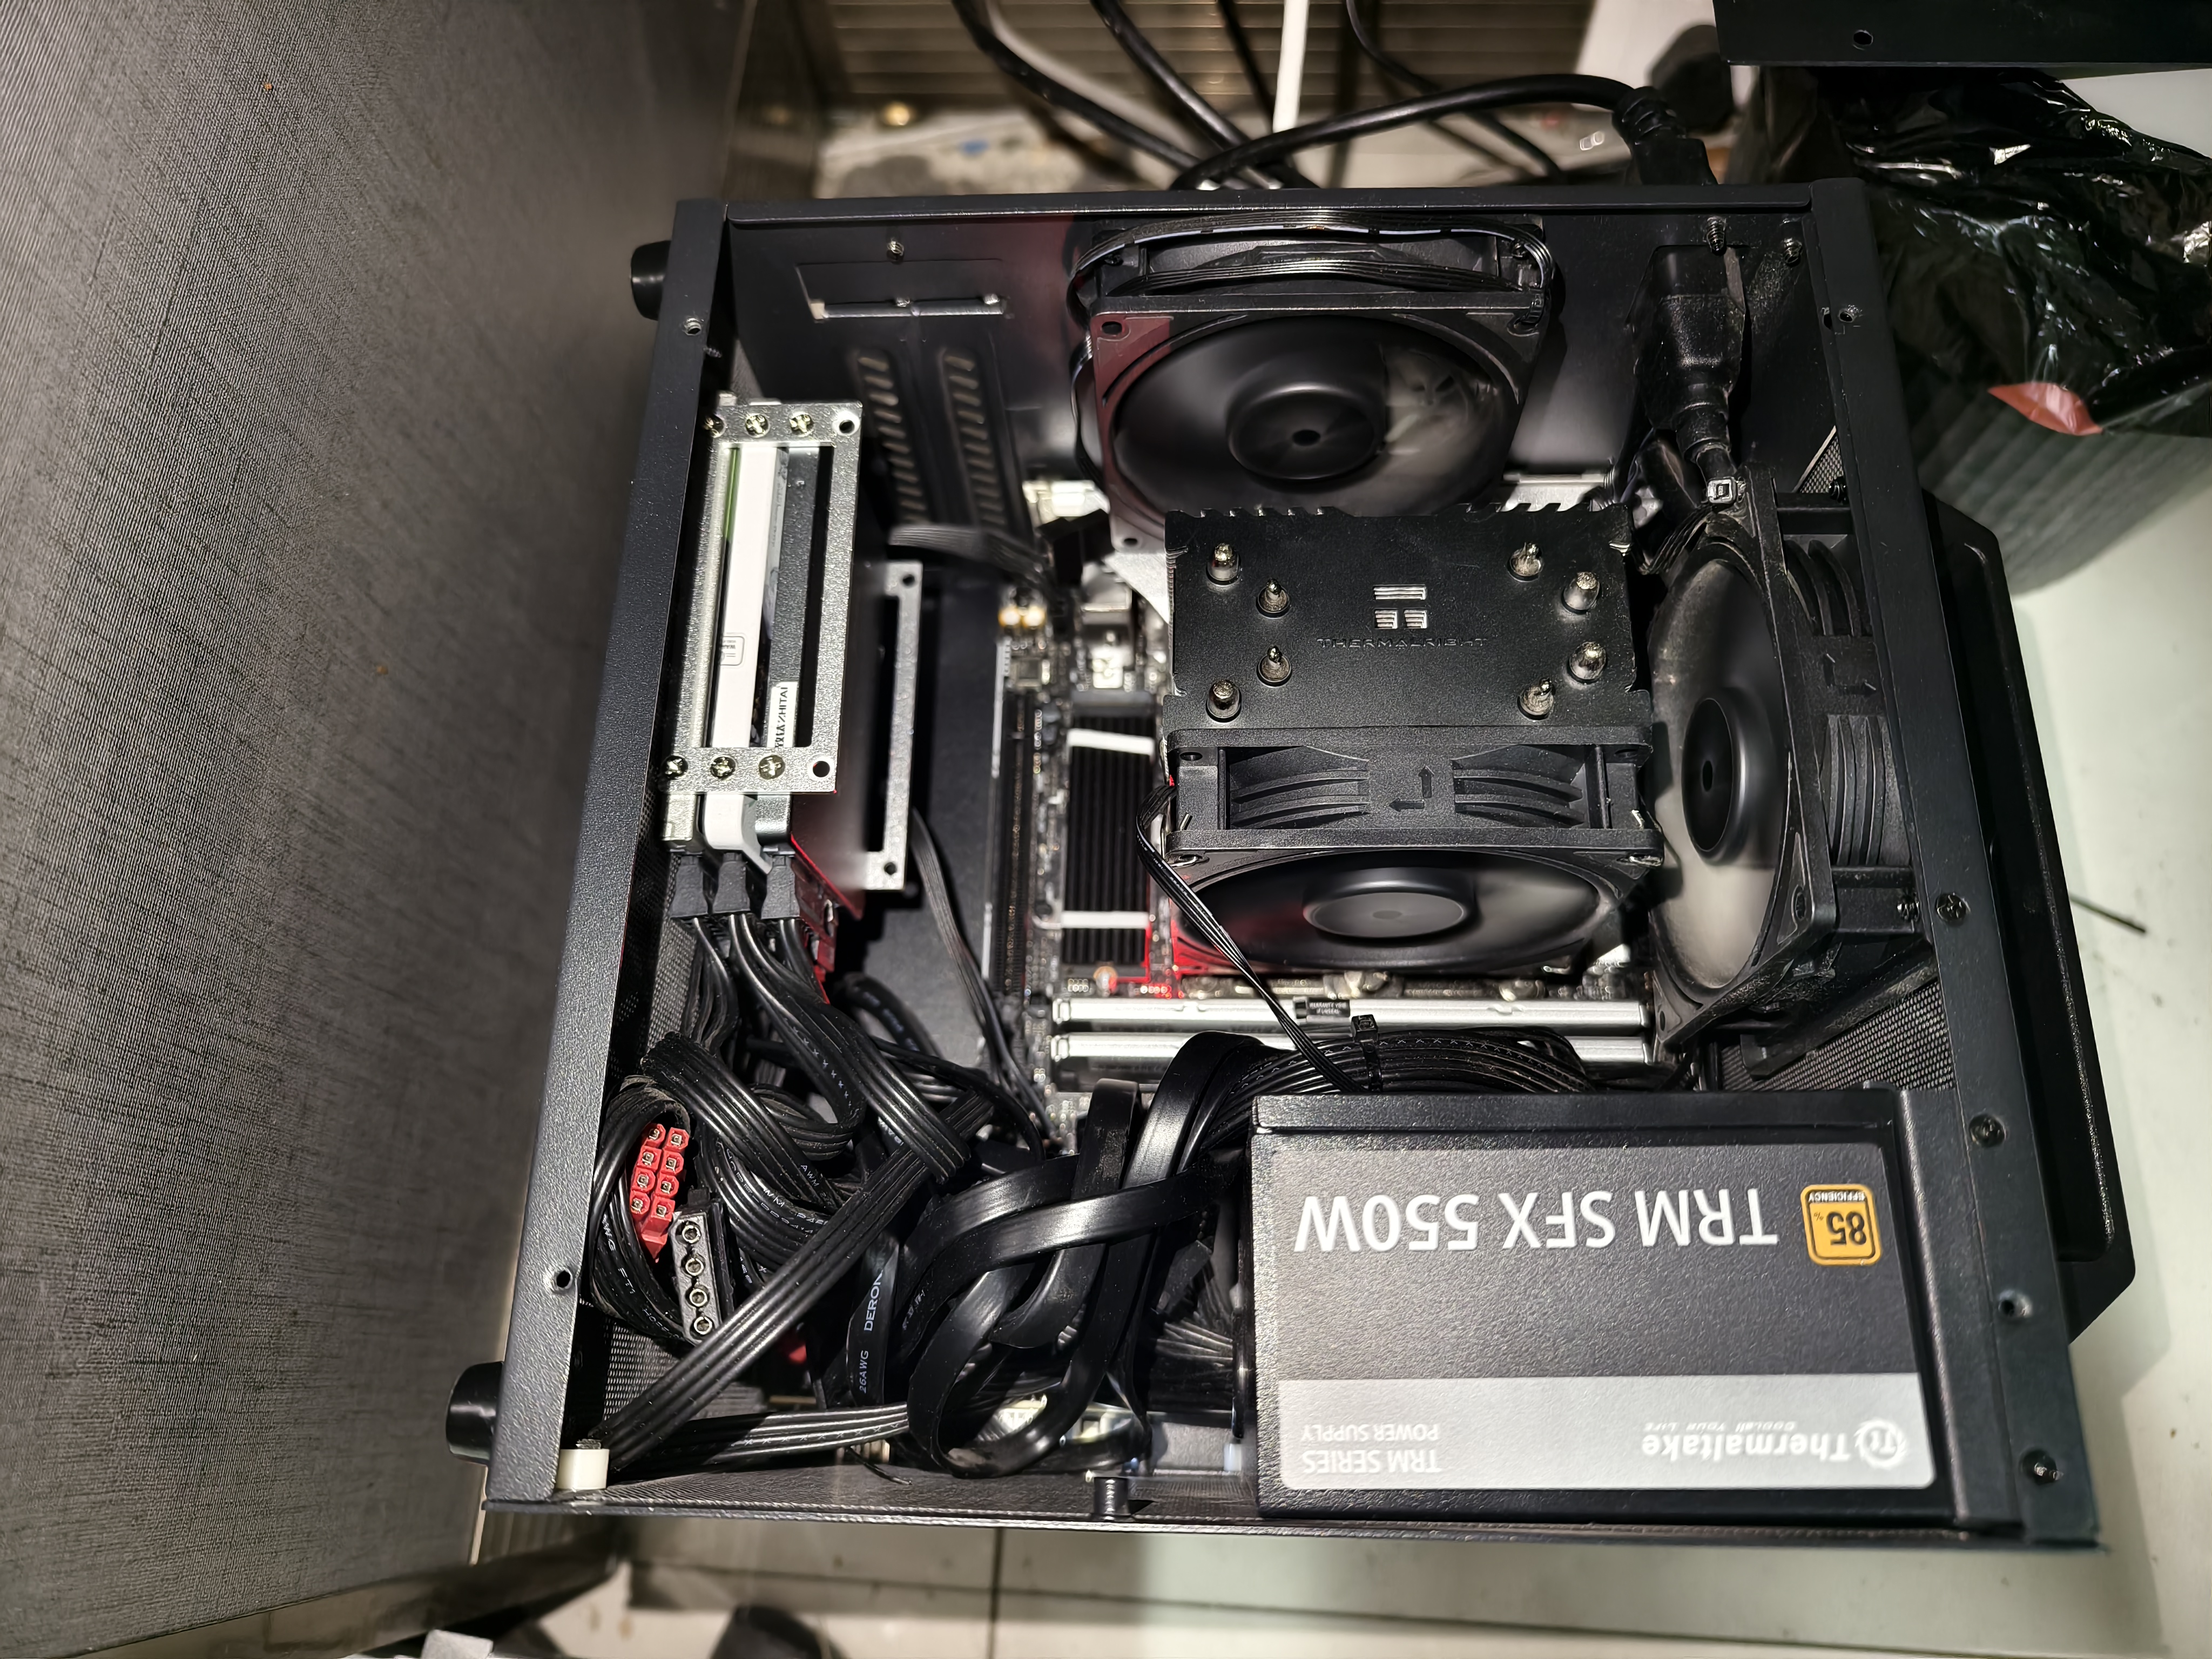
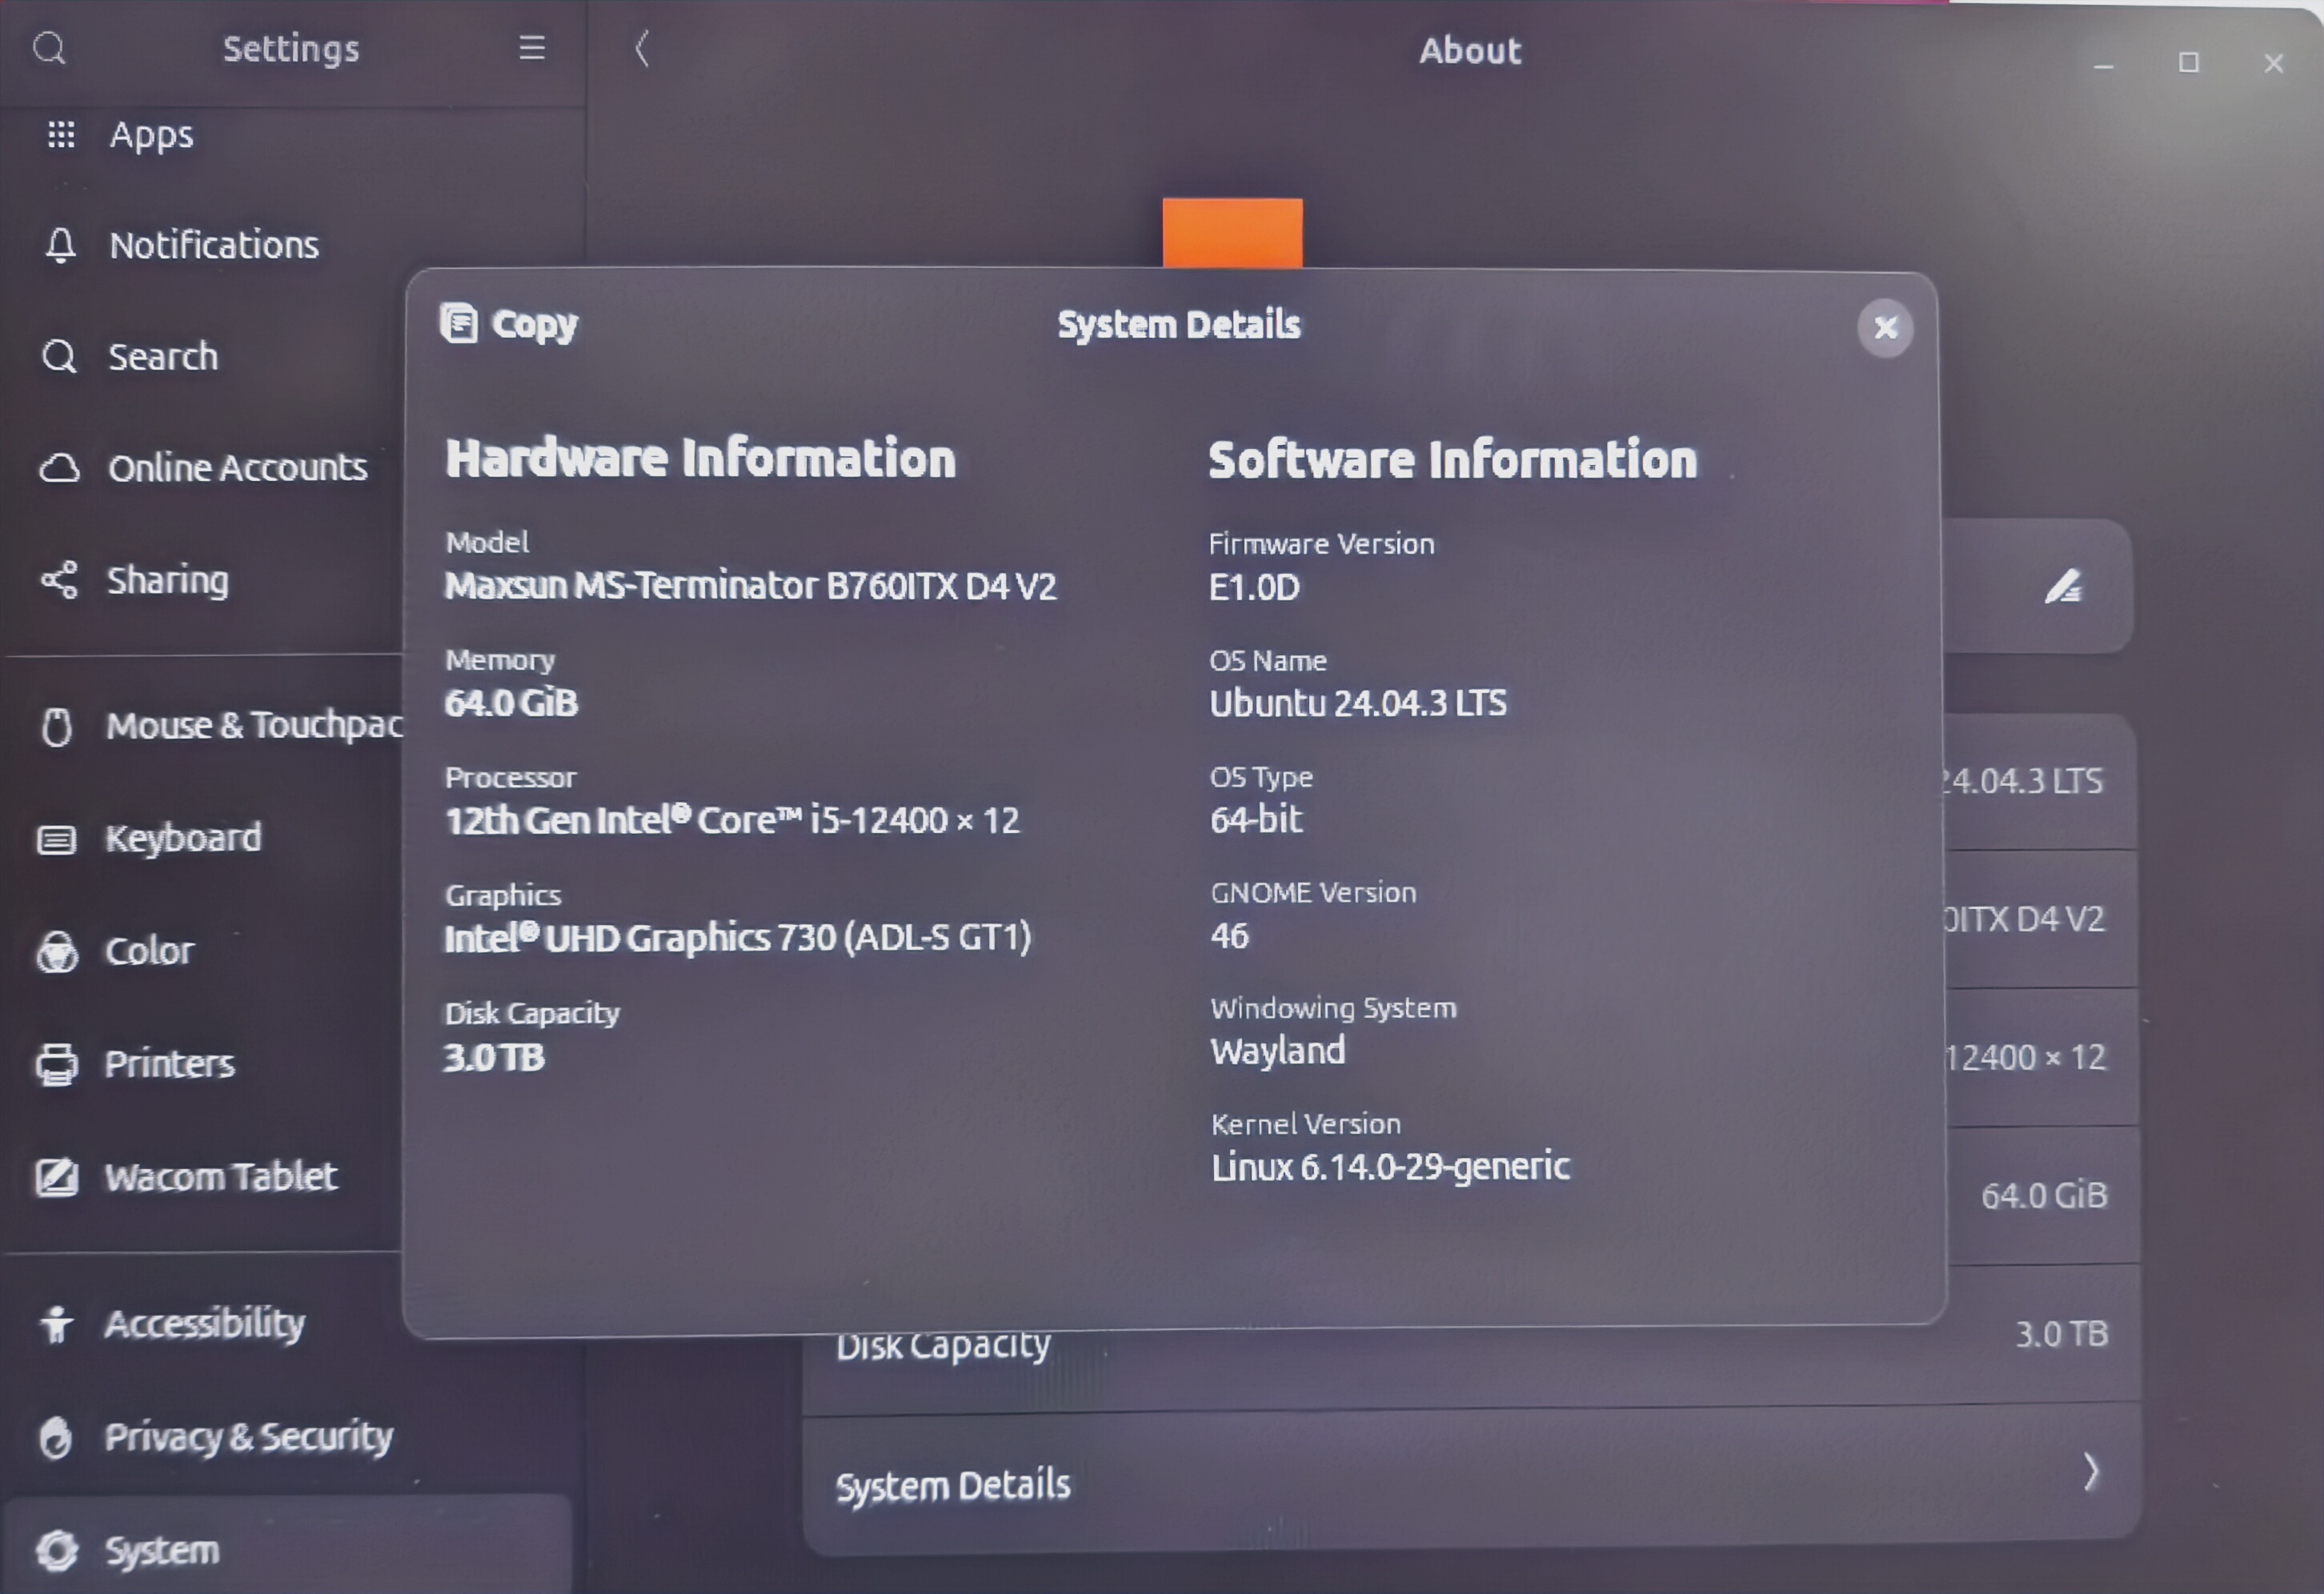
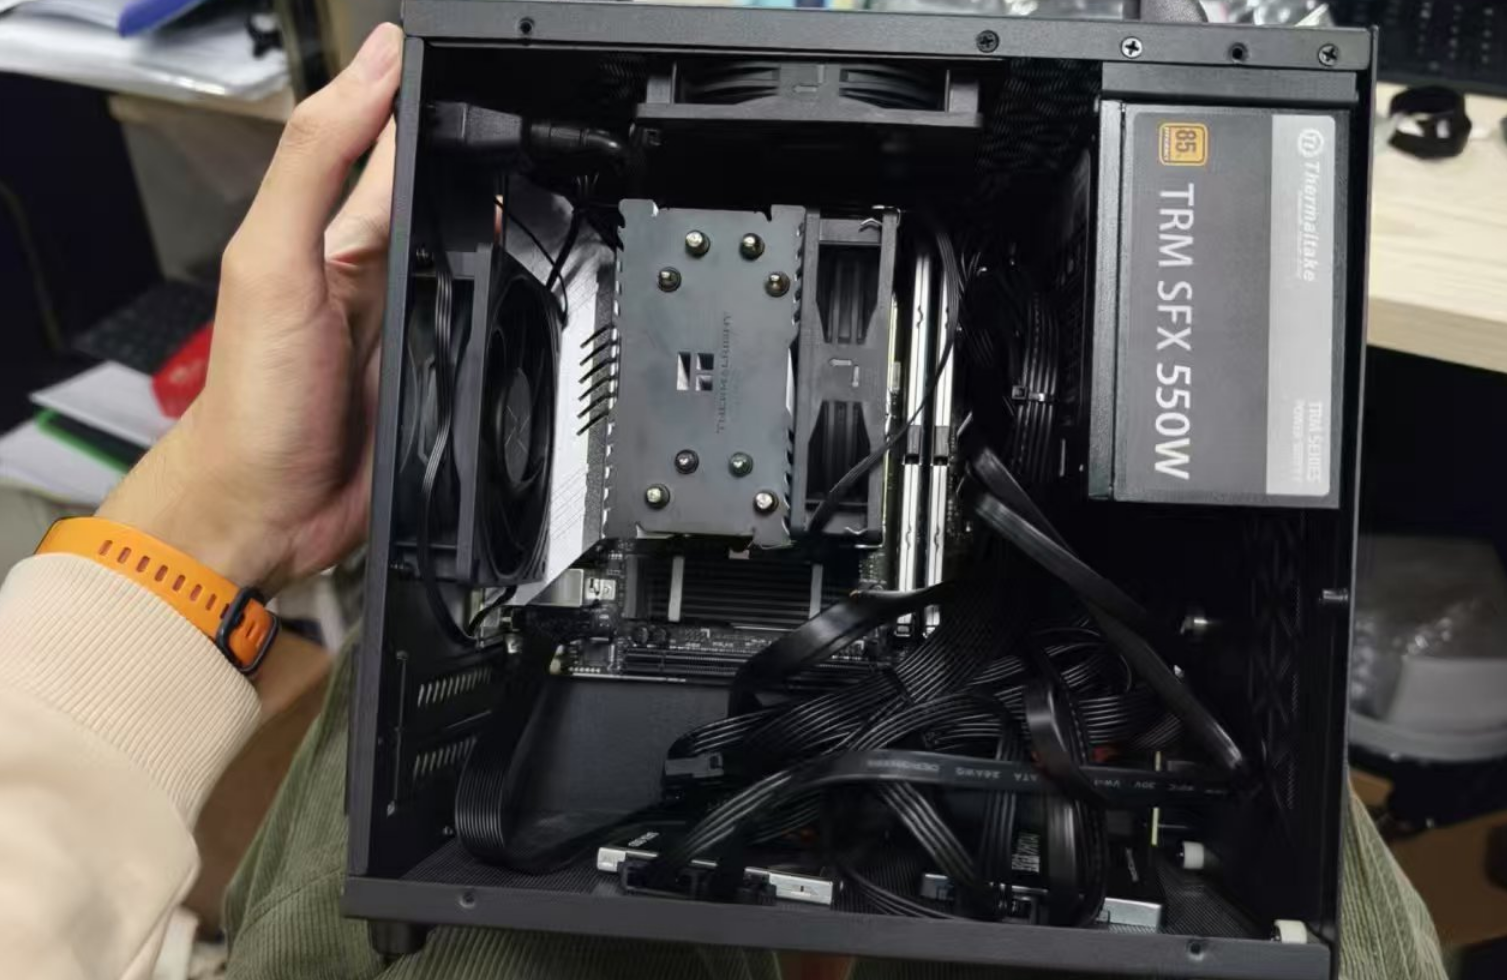
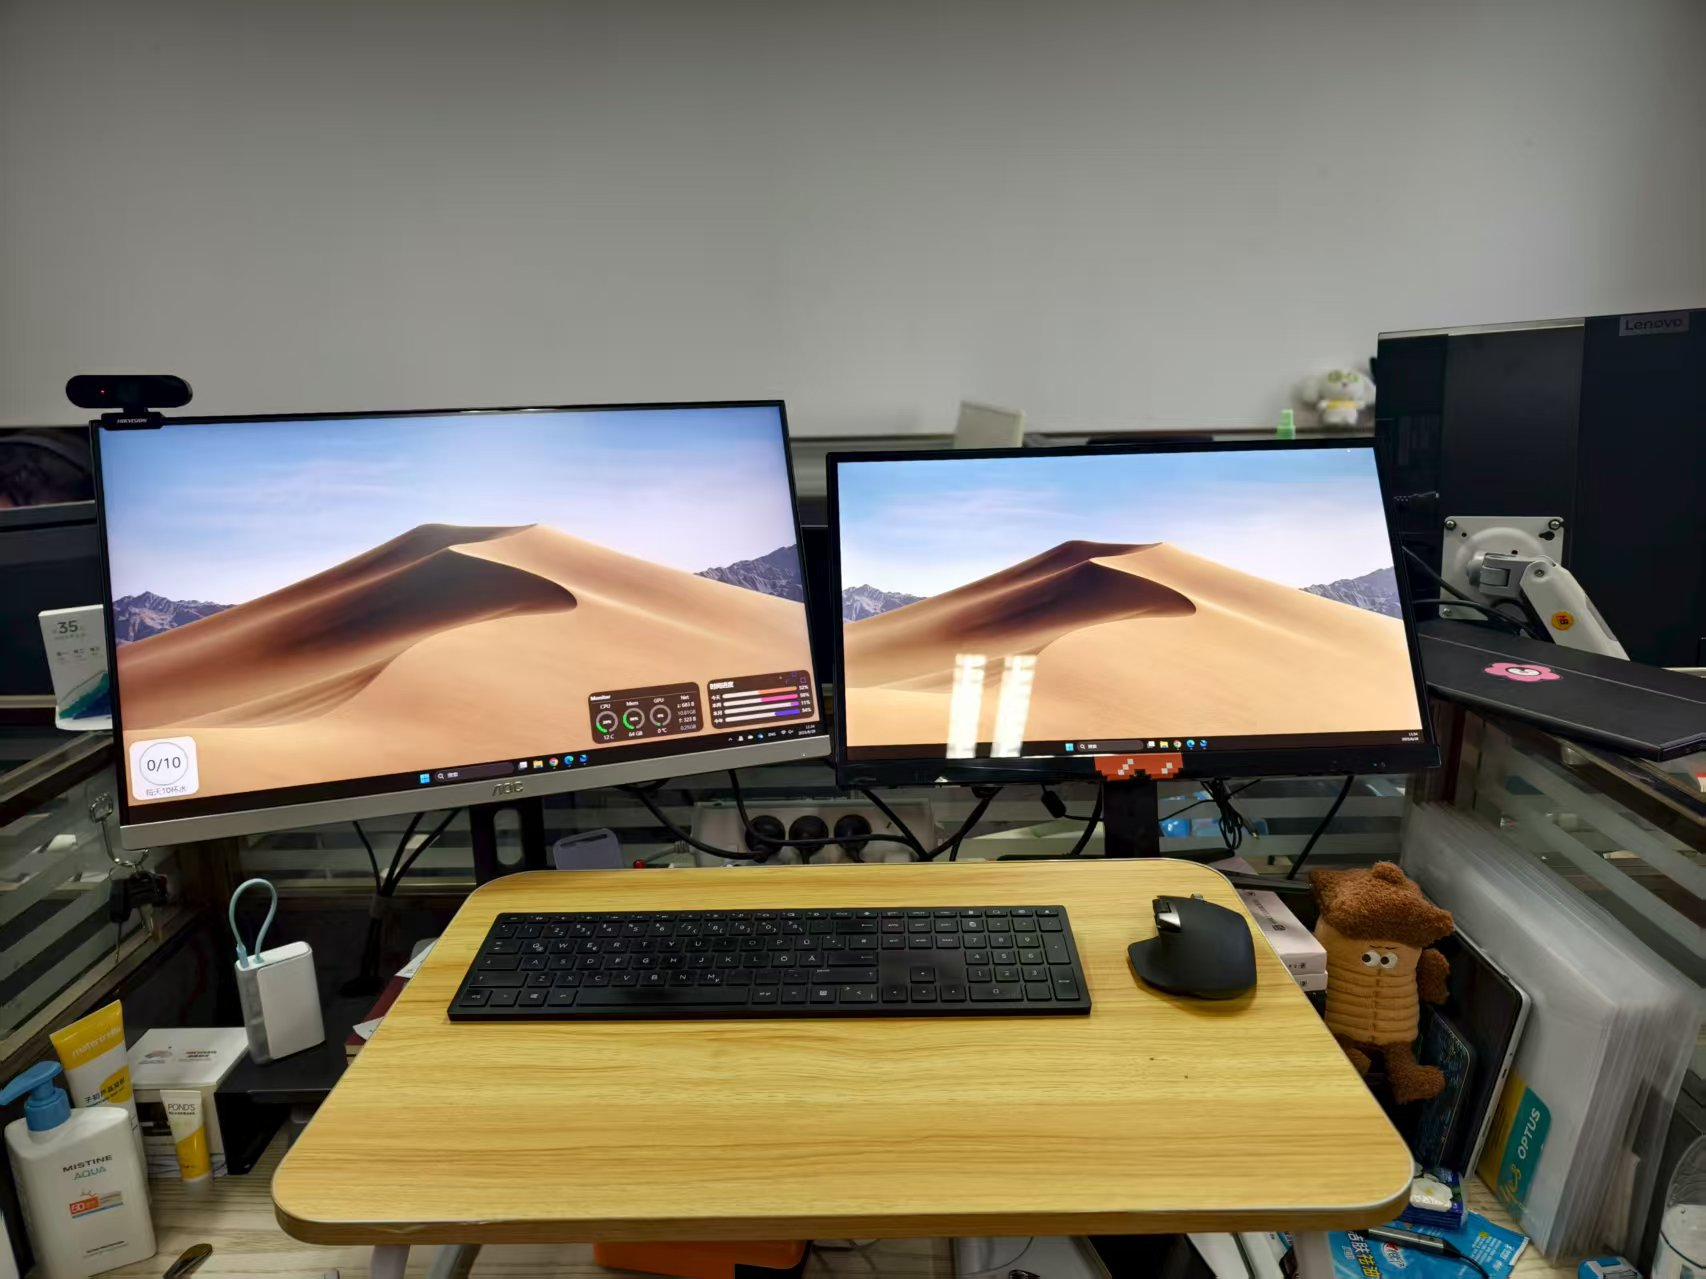
硬件配置
2024.12.18
教研室工位的电脑用起来受限,决定自己配一台小主机。
Detail
Operation System
Windows 11 Pro
CPU
Intel Core I5-12400
GPU
核显: Intel UHD Graphics 730
Memory
DDR4 64GB 3600(金百达 32 × 2)
Mainboard
铭瑄 B760 ITX
Power
TT 550W
Disk
英睿达 P3 PLUS 1TB/HITAI SC001 Active 1TB/KIOXIA 480GB/Maxsun 512GB
CPU Fan
利民 GX90SE V2
机箱 Fan
利民 LT-09 ×2
机箱
机械大师 G60